3D Modelling a Door - Part 1
- Dec 17, 2020
- 4 min read
The final 3D modelling project I challenged myself to complete was the door. Since the design was relatively simple, I didn't bring in an image plain to work with.


I started off by creating a cube and sizing it up. I also made sure it was resting on the origin. I made sure to allow room for the door as well as the frame, since I will be cutting them from the same cube so that they match up perfectly.


I added edge loops on it to mark out where the frame will go and where the door will begin. I did this by placing them equally, then selecting them and expanding them outwards. Once I was happy with all the edge loops, I moved on to create the top of the door frame. I started by creating some extrusions, and then flared the top one outwards to create the effect I wanted. I made sure to add a divot in it to add more elegance to the design.


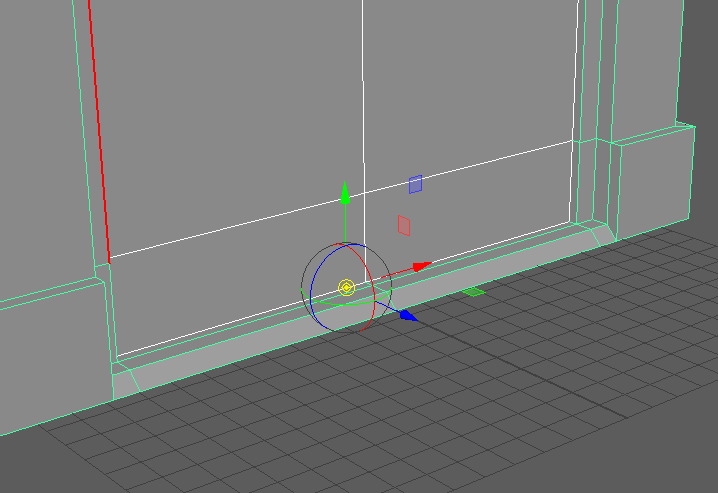
I then did the same to the lower part of the top, and extruded the inner part of the frame inwards for later. I also extruded the bottom of the door, which meant I had to fix the skirting board of the door as well. This involved moving some vertices around until they were all at the same level.


With that done, I selected the interior of the door and extruded it by the same as I had for the upper extrusion in the frame.


I then duplicated the geometry so that I could separate them into being the frame and the door. I did this by giving them their own layers, then going to each and deleting all the geometry I didn't need and bridging the parts that remained together to create the door and frame.
I thinned the door out so that I could create more of a design on it to match the extrusions framing it.


Back up at the top of the door, I created another extrusion to create a plaque for the name of the door. I made sure that this was ornate as well, since that's the style I'm going for with this door.


I added similar extrusions to the door to emboss it. I plan to add normal maps to this, possibly of runic inscriptions.


Back with the door, I extruded the bottom part out to almost match the inner frame. I then added more edge loops and created a divot. I had to add these edge loops on the frame manually, since I hadn't created them before I made the two components of the door separate. I lined them up before pulling them inwards to create a matching divot.


As a final touch, I extruded the flat, front facing sides of the frame, with the plan of adding inscriptions later as well.


Here is the finished main structure of the door. The next thing I need to do is create some handles for it.


I originally wanted to create door knobs, but instead decided to create some medieval inspired handles. I found an image to help me place the handles, as I was unsure of how high up they needed to be. Since I'm creating a tall, narrow door, the handles needed to be about a metre off the ground.


I started by creating a cube and added subdivisions to it. I then went into the side view and created a curve for the handle. I also curved it inwards towards the flat parts. I also added two extrusions to bevel it and give it a nice design. This will also have some normal maps on it.


I then adjusted some of the vertices to match the curve of the door so that the handle rested perfectly on the geometry. I then duplicated the handle over and to the other door and added four cylinders to act as screws.


With modelling done, it was now time for me to start bevelling the geometry. I started with the frame and bevelled it in increments. I then moved lower down to the bottom of the frame and bevelled that with the same fraction and amount of segments (a fraction of 0.08 and 2 segments). The last thing I bevelled were the decorative extrusions on the fronts of the frame.

Here is the full bevelled frame. the next thing to bevel are the doors. Before bevelling them, I duplicated and separated them. I then bridged them so that they were different pieces of geometry.


I started with the doors, and then moved onto the handles and screws, of which the screws were bevelled slightly less because of their small size.

Here's the completely bevelled door, ready to have UVs applied.


I started by automatic UVing everything, and then moving all the different components around to separate them. I had a few problems with the doors, but luckily these were fixed by cutting and sewing certain parts of the geometry. I also changed some of the cuts on the frame to even it out, but I was mostly able to keep everything relatively the same.
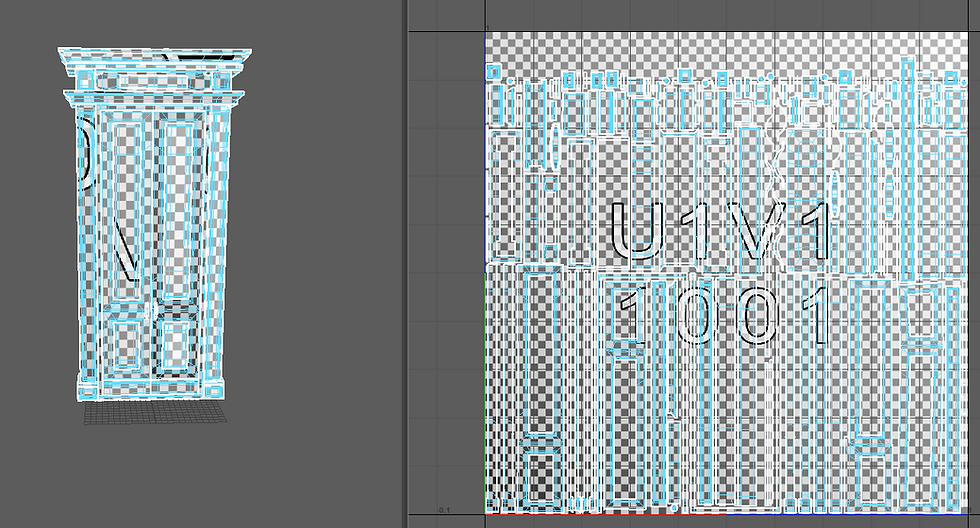
I then used the layout tool to organise everything in one section of the grid. Here are the finished UVs for the door, ready to be textured. I'm planning on making it look like old mahogany with polish chipping away in certain places, which will be made easier with bumps maps and specular maps.


Comments