3D Modelling a Tower - Part 2
- Dec 17, 2020
- 3 min read
There's still modelling that needs to be done, so I started completing the rest of the bottom towers.


I started by adding 11 edge loops to both sides of the tower, and then one last on free-hand to mark the position of the wall. I then extruded the walls up, and extruded the original edges out to create a small different between them.
Much like the first tower I made, I made some extrusions around the edges to add normal maps later.


I then moved onto the actual tower, and extruded all the sides inwards and also used extrusions to add in windowsills.


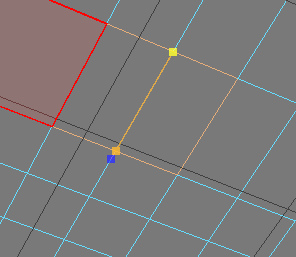
I then created windows in the geometry by moving around the vertices to create their shape. I duplicated this over to the other windowsill, and merged the vertices back together. I then extruded the windows inwards by -0.06.


Now it was just a process of deleting all the other walls and replacing them with the wall with the windows. I also had to go back and correct some of the geometry, since it'd been accidently extruded with the wall.


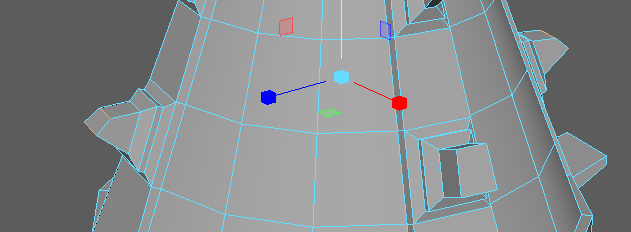
I then added back in the flying buttresses and adjusted them to fit around the windows.


With all three levels of the tower base complete, the last thing to do was model the actual base part of the tower.


I started by creating a corner cube for the final buttresses to rest upon. I added in some edge loops to the corners and top, and extruded the walls inwards to create an embossed effect.


Like the previous floors of the tower, the next point of call was to create windows and windowsills, duplicate the walls and merge the whole thing back together.
I also decided to get rid of the idea of a cube and buttress, as I liked how the base of the tower looked without them.

This meant that the base of the tower was officially complete.


I moved back up to the top and added back in the lines of the rainbow window with the multi-cut tool.


Here's how the tower looks so far, but I still wasn't happy with how the top of the tower looked, so I decided to go in for more detail.


I decided to use the multi-cut tool to cut around the edges and extruded the entire thing inwards. I deselected the already-bevelled window pane, since I didn't want it to shrink along with the rest of the geometry.
To give it more detail, I added in some more cuts and extruded them outwards by the same amount as the other parts were extruded inwards.


I also went back to the top part of the tower's base and extruded the middle section up to hide the fact that these two pieces of geometry are separate.


With that, the tower is officially completed, and ready to be bevelled.


I started from the top, with the cone roof. I had a lot of trouble bevelling this, and had to do it in increments. I started by bevelling the extrusions and then went onto bevelling the main structure of the roof.

The next thing I bevelled were the columns holding the spire up.
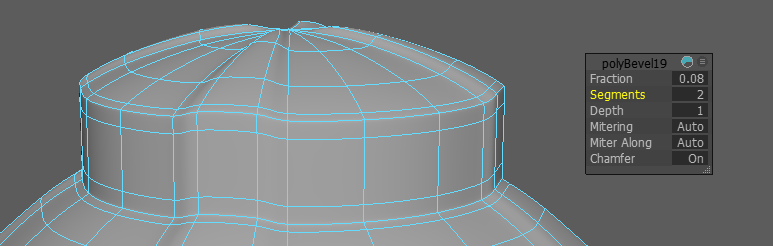


After that, I bevelled the dome roof. This also had to be done in increments, but I managed it eventually.


Next I bevelled the top of the tower.


After that I bevelled the tower's main body and the buttresses. The tower I also bevelled in increments, which made it far easier for me to spot any mistakes I'd made along the way with bevelling.
The buttresses were also a pain to bevel, and had would often not bevel or fold in on themselves if I bevelled certain areas. I managed it, however, and then duplicated the successful one into the same positions they'd been in before.


I then moved downwards to the top of the base, and bevelled that as well. I first bevelled the walls and edges, and then the extrusions on the sides.

Here's the second bevelled flying buttress. The one also caused some problems, but having already faced them, I knew how to work around them.


Much like with the first level of the base, I first bevelled the walls by 0.08 with 2 sections, then the extrusions and then the moved onto the main structure. I did this in increments as well, first going for the walls and then the windows and the sill.


I did the same with this level, but I had to alter some of the geometry at the edges to bevel it correctly.


Next I bevelled the final flying buttresses. I did this to three of them so I could keep their positions and then cloned and rotated them back around.


Finally, I bevelled the true base of the tower, concluding the bevelling. The next thing I need to do with this model is UV it. Since many of the shapes and geometry are incredibly odd, I know this will be a challenge.


Comments