Creating moving Matte Paintings
- Oct 18, 2020
- 2 min read
While creating a poster, it might be a good idea to create the layers in Photoshop, and then arrange them in After Effects to create an accurate effect of perspective and blurring. This is done by bringing the layers in, creating a camera and then moving the different the images back in the scene.
To do this quickly, I created a new project in After Effects. I found an image of a mound and then used the pen tool in After Effects to quickly mask around it. Usually, this would be done in Photoshop, but it was good for me to know that I can do it in After Effects as well.
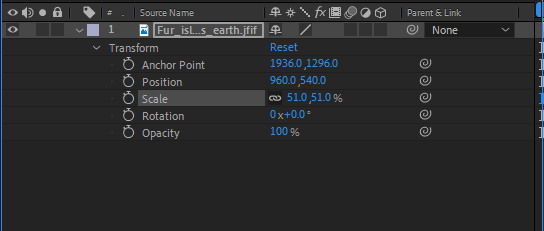
Once I'd masked out the background of the mound, I brought in a background and put it behind the mound. I went into the transform menu for the mountains and used the scale tool to keep the aspect ratio of the image.
I then masked out a small cottage and rolling hills as well, before scaling and moving them all into position.
I then turned all the layers into 3D objects and changed their names to make things simpler for me.
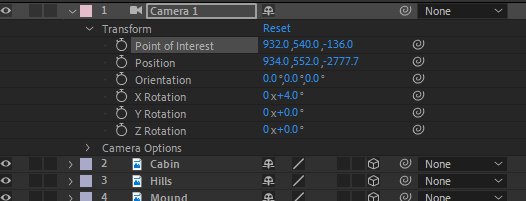
The next thing I did was add a camera to the scene and change the panel view to show 4 panels. This way I can see a top view, the camera's view, the scene's view and a side view. Using this as a guide, I moved the images around until I'd made an interesting scene.
I scaled all the further back images up to fit the camera view. I also tilted the camera and experimented with different views.
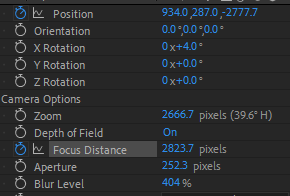
I decided to add a zoom to the composition, and played around with the focal distance of the camera. I ended up exporting a 4 second clip to test out the focal distance. I originally had this clip at 3 seconds, but I increased it to 4 so that I could show that the focal distance can pick up on the mountains in the background as well.
Here's the clip I exported. Using the focal distance of a camera could be a good tool to create an interesting poster, as elements of my poster may be further back. This would be a far more accurate way of creating perspective and distance between the different parts of it.


Comments