Nuke - Rotoscoping
- Apr 16, 2021
- 5 min read
Updated: May 11, 2021
The next exercise I did involved rotoscoping, which is done on complex, moving objects. This is most commonly used when applying FX to people moving in a scene, or to apply something to the background behind them.


I started by downloading the video provided to us, and then changing the settings of my wacom tablet to middle click so that I can move around the composition when using it. I didn't end up using the wacom, however. I then read in the .exr footage into Nuke and linked it up to the viewer.
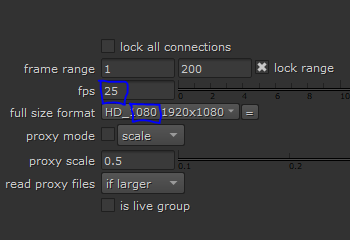


I pressed S in the node graph to make sure the frame rate was 25fps, and that the format was 1080, which it wasn't originally. After that, I added a Frame Range node.

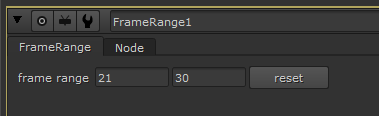
I did this because each of us was assigned a different section of the footage to roto. Since I was given 21 to 30, that's what I set the frame range to.


I then added a roto node beneath the frame range node, and hooked it up to the second node on the viewer so that I can see what is inside any future selections I make. I also added in a premult node, which will show only the selection of the roto on the viewer.
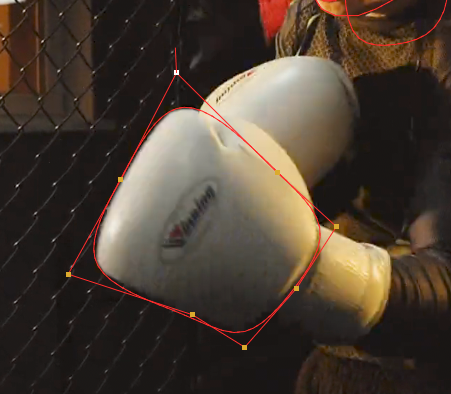
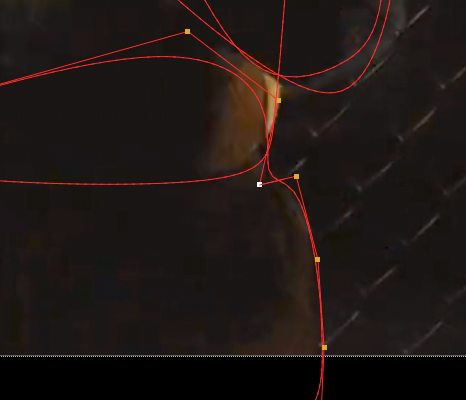
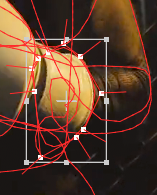
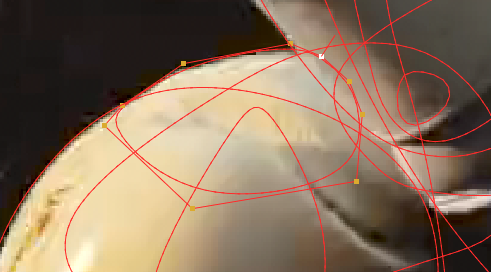
I then experimented with a bSpline to outline a section of the boxer in the footage's head.

Following the video tutorials, I started to outline different sections of the boxer, starting with his head. I made sure to get his hair in the selection.


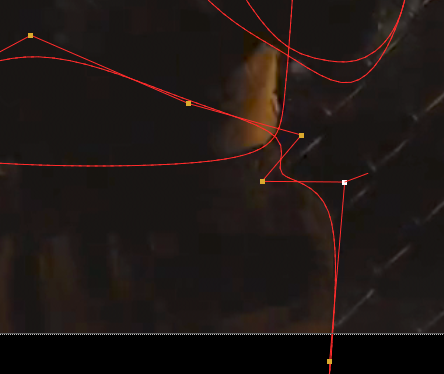
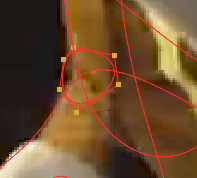
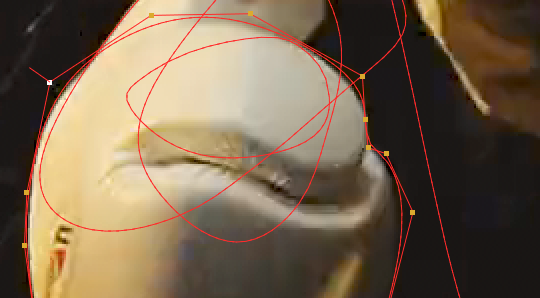
I then moved onto his forehead, jaw and ear, which I had a bit of trouble getting to match up perfectly, but I got close after a few minutes of adjusting the nodes around.


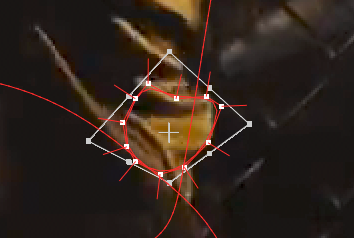
I then realised his upper lip is puckered and needed its own bSpline to define it in a roto sequence. I outlined it and then checked in the Premult viewer, which I accessed by pressing 2 (I pressed 1 to return to the normal viewer).

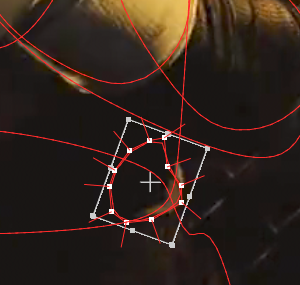
I then started making more adjustments to the Splines around his face, such as defining his cheek bones and chin more accurately.


It was now time to start keyframing these Splines to the footage. I can do this by selecting the nodes of each Spline and moving and adjusting it. I'm able to expand, rotate and skew it in order to keep it in line with the boxer.


I started scrubbing through the frames and moved the Splines around to match the movement of his head. I did this roughly at first, so that I could go in for more detail later.


I started by adjusting the forehead and the chin, which I had to move around a bit to keep the fit correct. I adjusted the ears, which involved a lot of rotation and squashing. I also added a Spline for bottom lip as well.


I then added in a piece for his neck, which I keyframed as well. I decided to block out his body to save myself some time later.


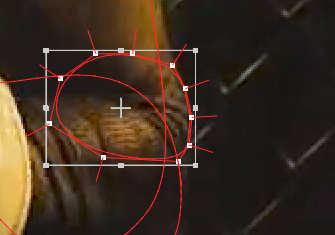
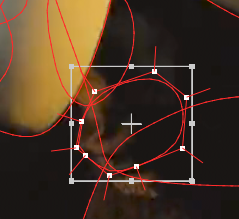
I then added in a quick Spline to the glove, which prompted me to add Splines to the rest of the arms.


I also added Splines to the collar and shoulder blades to add more definition. I also added in a Spline for his torso.


I moved onto the other glow, which was a lot harder, and will require some more editing to match up perfectly.


I followed up with the rest of the arm, which was a lot harder because of how they're obscured from view.


I then went on to add in a Spline for his hips, which concludes the main additions to the composition.


The next thing to add are the details to his silhouette.


I then went in to add more detail to his gloves, such as cuffs and thumps. I also went through and edited the Spline's frame by frame to match the silhouette better.


Before I went any further, I downloaded a quality checker and copy-pasted it into my node graph. This has three viewing points, so I hooked it up to the viewer and moved everything else around to fit into the quality checker.

The quality checker will help me make sure I've included everything in the roto, using various different filters and methods.


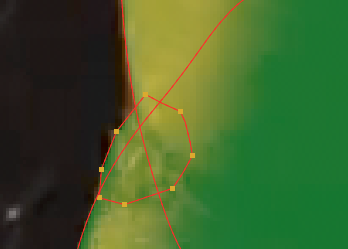
The first filter is the regular view I've been working with this whole time, but the second and third are more interesting. The second view turns everythign in the selection a different colour,which I chose as green so it was easier to see, and the third eleminates the background entirely. This helped me see easily where I need to work on.


The face was presenting a lot of problems through the footage, so I went through frame by frame and corrected everything, first with the forehead, then the jaw, then his crown and finally onto his ears, which were the most fiddle and challending part of his face to get right.


I went back to second and third views to check everything else. I found that his body was being clipped in a few places, so that was where I headed next.


I started with his arms, matching them up more closely, and making sure I didn't clip his elbow off anywhere.


I then worked on his shoulders, which were slightly unaligned in a few places. I tried to add in a Spline for the elbow, but I ended up not needing it.


I then to his hips and moved some of the points around to describe the waistband of his tracksuit bottoms.


I then added in the creases on his shirt, which meant I had to adjust the Spline I'd created for his torso.

Here's how the Splines all look so far.


I then added some cuffs onto the gloves and and worked on the left arm. I also added in a small crease at the elbow, but this isn't visible for more than a few frames.


With that, I decided that this was as close as I was going to get with my roto. Obviously, it isn't perfect, but I'm proud of how the majority of it turned out.


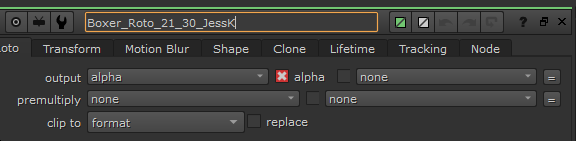

With that, I remade the node graph I previously had, and moved the quality checker off to one side. I went into the roto menu and selected all the Splines, and made sure I set their frame range to 21 to 30, which is the range I worked it, and then exported the nodes out.


There were a few mistakes and missing pieces in my roto, so I went back into the script and added things and moved points around to better fit. I found that the main problem area was left arm, which I struggled with because it was mainly hidden behind the boxer's body.


I then added in some more Splines for the creases in his shirt, which I hadn't noticed previously. Then, it was just a case of re-exporting the nodes. This time, I labelled the export as 'Boxer_Roto_21_30_JessK_V2,' to show that this is the second version of the export.
This concludes the third practical VFX task of this unit. I had a lot of fun with this one, as it was very challenging to keep track of all the nodes. A way I could've made this easier was if I changed to colours of some of these nodes, but since I was already behind on this project when I started, I completely forgot about this being an option.
Here is a rendered version of the Premult, which eliminates anything outside of the roto. Overall, I think I did well on this project, and if I ever did any roto again in the future, I now have experience to work from.


Comments