Professional Practise - Poster and Billing Block Initial Thoughts
- Oct 12, 2020
- 7 min read
Updated: Oct 15, 2020
In the Professional Practice Unit, one of the tasks entails the creation of a film poster made in Photoshop to a convincing level. Since this task isn't the main focus of the unit, I'm compelled to research, plan and execute it as quick as possible.
The first thing I did was research. I found out the requirements for the poster (the measurements and specifications) and also what needed to be on there. In the brief, specific things need to appear in the poster:
A protagonist that is based off of my likeness (meaning that I will need to take out a camera and shoot some photos of myself)
An antagonist (this can be anything from a 3D model to a cloaked figure, so long as there is a clear antagonist on the poster)
An ally (which can be a 3D model from what I've gathered, or someone else entirely)
A tower (interior or exterior, so long as it's visible)
With these requirements in mind, I drew two possible poster designs I could recreate.

These two designs are similar in many ways. For starters, I decided that I wanted to depict the exterior of the tower, as I felt it would give me the opportunity to create a more striking composition.
The first design I had in mind for a while. I decided I wanted to establish the stakes and characters clearly in my first concept for the poster. When I first imagined the poster, I had just finished my first week of modelling the revolver, so I naturally wanted to incorporate it to establish more of the world this poster is marketing. Having a gunslinger in the poster will explain a bit about what this film would be about.
I also wanted it to be eye-catching, and intense, so having the protagonist and antagonist battling was a great idea to set the tone for the film. I wanted it to be clear about who was good and who was evil. The audience needs to know who to support. I decided that the antagonist would also be human, and not a fantasy creature, which would save me a lot of time.
I based this idea on 'the man in black', a character in the Dark Towers Series. I expanded on this with the idea that the man in black was a 'shadow' of the protagonist. This idea also partially came from Ursula Le Guin's Earthsea Series, which featured a shadowy beast that pursued the main character, Ged. The film adaption, Tales From Earthsea, by Studio Ghibli, depicted a similar situation with a character, but instead of being a beast, the creature is a mirrored version of the character. I decided that this was an interesting concept, so I decided that this was what I'd go with.
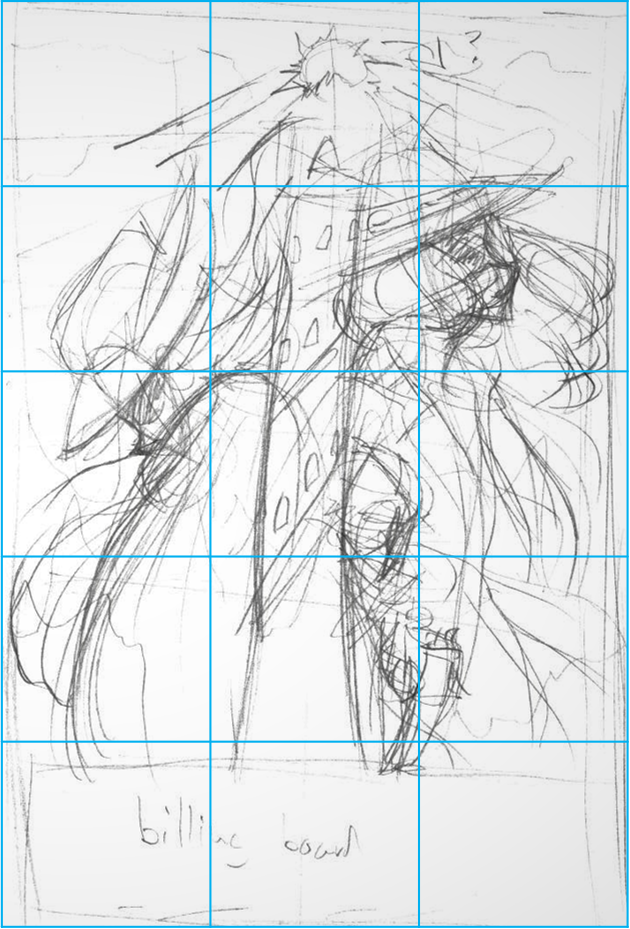
The second image also goes along with this idea. I decided that having the characters on either side of the tower would also show the two sides of the conflict. I had the idea of the characters fading into the background, or being illuminated by the light of the sun over the tower. Since this was on paper, I didn't go into too much detail on this.


With my two ideas drawn and scanned, I decided to check the compositions, and see what was wrong with them and how I could change them in the final image. Because I was working at home, I only had Microsoft PowerPoint to work with. However, there was plenty of tools I could use to check the composition.


I used the curved line tool draw in the different lines. I lined the main lines in the composition to see how the balance was. The lines in the sky all lead towards the tower, which is the main focus of the poster.
I also tried to use the hats to frame the tower as well in the second poster, which is something that I would like to see in the first poster as well.

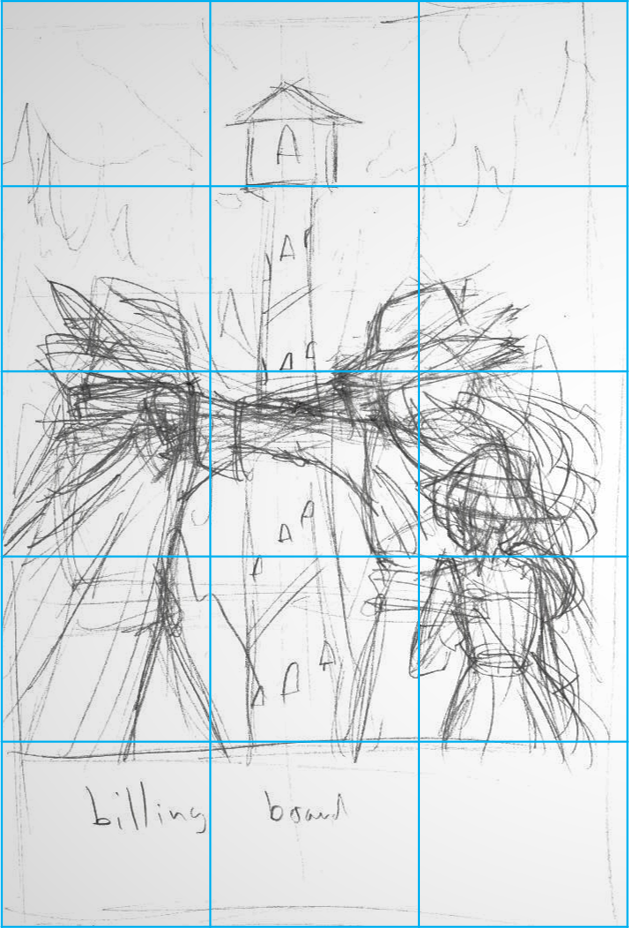

I placed grids over the two compositions to check their layouts and positioning of certain elements.
Ignoring that the inaccuracies of the paper drawing, I do like how the two sides (good and evil) are physically separated from each other on opposite sides of the poster. I also like that in the first poster, these two forces are overlapping, with good on top.
The tower in the background is a great way to confirm the focus of the film, and also as a way to 'separate' the two sides of the conflict. This is most clear in the first poster, in which the protagonist and antagonist are both holding guns, and have their arms crossed. The tower really separates them from becoming a single entity.
One thing I like about the second poster is that I could use the light peaking over the tower to show how the difference between the two sides. Perhaps the shadows could accentuate the antagonist. The other side of the poster could be far lighter. I think this would be an interesting way to use the light to enhance the composition.
Some things I would change are the positioning of the two shooters in the first poster, as the distance between them is a little too much. It would be better and more effective if they were closer together.
Another thing I would change would be the ally/deuteragonist in the second poster, who is barely visible next to the protagonist. In my opinion, the ally needs to be more visible on the poster. they don't need a striking pose like the protagonist, but something to establish them as a character. I visualise the ally in my posters to be shy and insecure. I established this in the first concept with the ally hiding behind the protagonist. In the second image, I have them hunched over in an unconfident position. This is good, but I think this needs to be pulled more into focus. I could also try out a different pose, one that may suggest that the ally depends on the protagonist for protection.
At this point, I'm still unsure of which of the two concept art I will create into the poster, so I wanted to explore both options fully before I made my final decision. I need to consider which will be easier, more striking, and which I will be able to supply assets and costumes for. Since the concepts are both similar and hold the same costumes and sets, the last option will be far easier.


Still using the grid, I condensed the main parts of the images down. Since I'd left room for a billing block, I didn't count this area. However, in future, this will be the image instead, since the scale of this is definitely wrong. The ally in the second poster is the only part of the composition that needs to be rethought in my opinion.

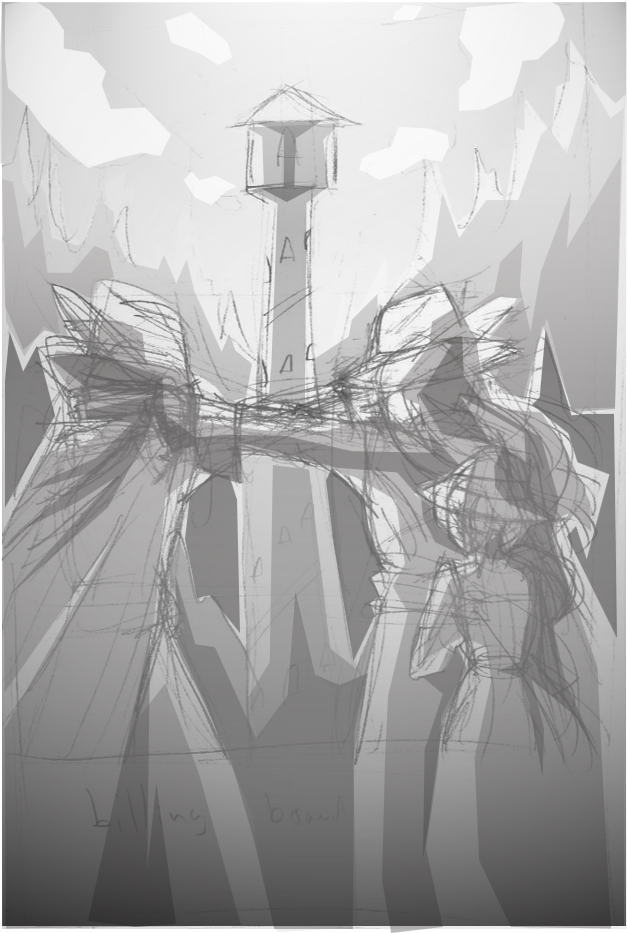
Using the freeform shape tool, I drew in the different layers of shading to give myself a better of how these two compositions would look in poster form. Using a lower opacity and layering different parts over one another, I managed to create a 'graphic novel' version of the posters.
For the first poster, I tried to create a contrast between light and dark by only illuminating the tops of their hats, whilst keeping the rest of them in shadows. For some of the background pieces, I used gradients to create stronger shadows.
I really like how the composition looks with shading like this, so if this is the one I pick, I'll definitely try and create something similar. Perhaps I could have the antagonist facing the other way so the two mirror each other more (this would link back to the 'shadow' idea nicely). I also think I gave the deuteragonist the correct personality in their pose as well.

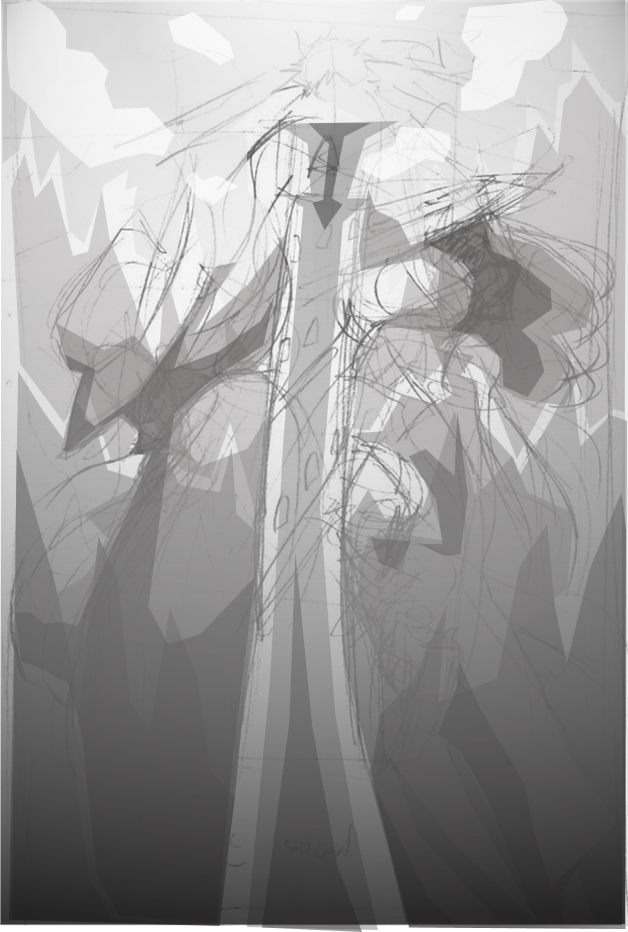
Since PowerPoint is limited in what I could achieve, this composition is less convincing. However, I do love how I used the shadows to silhouette the characters in the image while also having the tower be the central focus. I also like the idea of light streaming through the characters, maybe obscuring them.
The idea was that they'd be fading into the background like the characters on a Star Wars cover. This is unfortunately hard to convey in PowerPoint.


Here's what both of them look like with a vignette on them. It adds more depth to the images. A vignette is something I might add to my poster once it is completed.

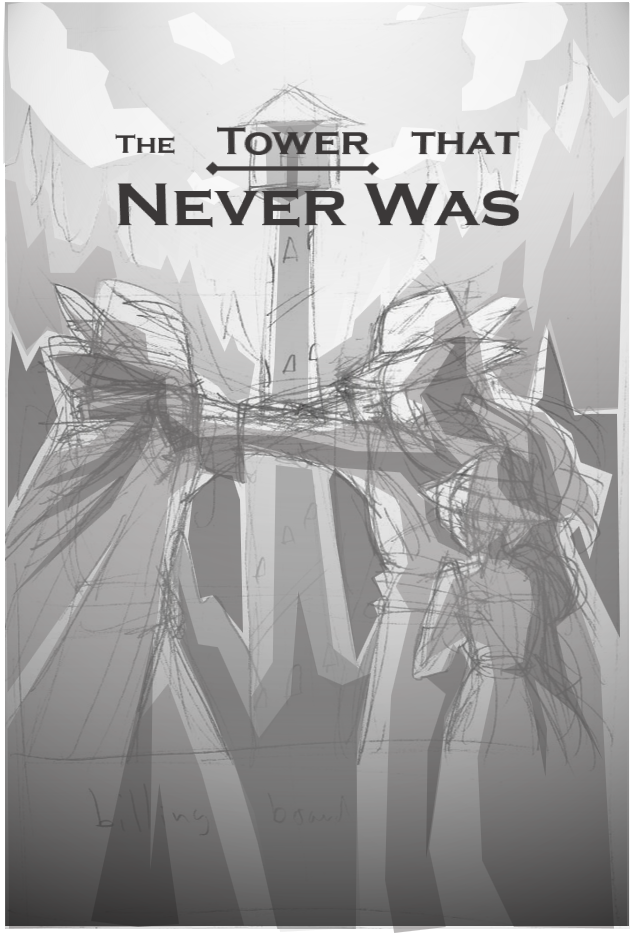

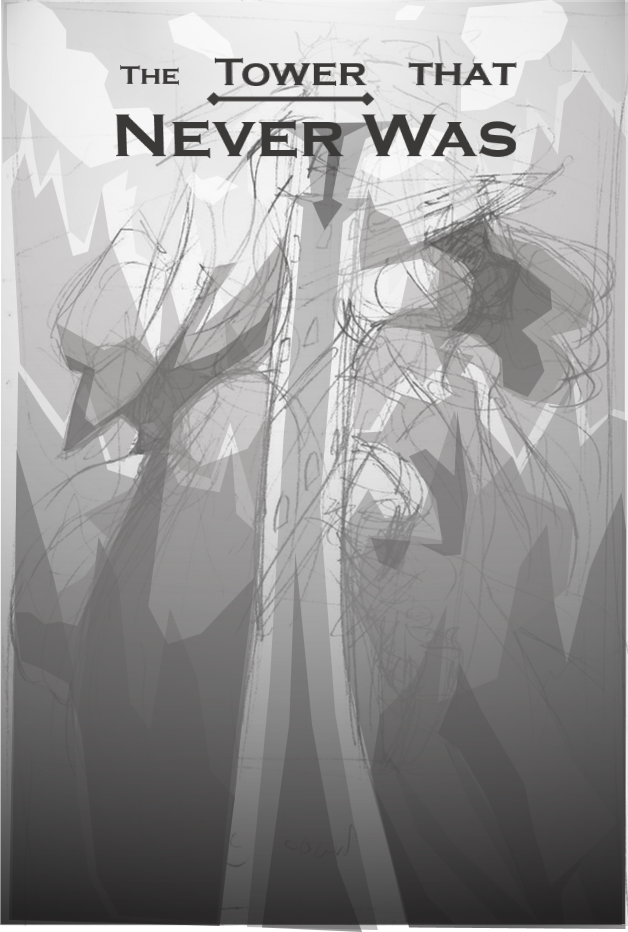
I also added some text to see how the posters looked with it. I like how I positioned the title on the second poster, as the first poster looks more like a graphic novel cover. I don't completely hate this comparison, however.
With the two concepts completed, it gives me time to decide which one I will chose to recreate. To do this, I felt it a good time to plan out how I would achieve either of them.
Costumes will be easy enough to acquire, since I can find long coats, scarves and a hat to wear. If I decide that the ally will be a young girl, I can easily just put on a dress and a different hat (possibly a wig or something so that all three characters aren't completely identical).
To create the illusion of blowing in the wind, I can use an electric fan. Since the coat I plan to use is leather, and thus too heavy to be blown by an electric fan, I made attach the hem of it to a piece of string and have someone pull it back to create the illusion.
As for the tower, this could either be modelled and textured in Maya, or taken in real life of a tower and them Photoshopped to fit in with the composition. Since I plan to model the tower, it would be nice to have this featured as well. If I do not get the chance to model a tower, I will find somewhere local to take a picture of.
Another thing I plan to feature in the poster is a revolver. Since I'm modelling a revolver, I can use this and blend it in with the pictures. When taking the pictures in real life, I can hold onto something like a Nerf Gun as a placeholder and then place it later in Photoshop.
The mountains in the background could be a shape made with a rock texture, which I could then emboss and make 3D with the tools in Photoshop. This is the easiest way of achieving this, as it would be incredibly difficult to travel to a mountain and take a photo. And getting a picture of a blue sky with a few clouds should be somewhat easy as well (although this will need to be done soon, since we're well into autumn now).


Comments