Unity - Exporting a Build
- May 15, 2021
- 2 min read
Since I was happy with how my experiments with Unity had gone, I decided it was time to try and export out the project I'd created as a working game.


I started by opening the Build Settings, which allows me to chose which system I want to create a build for. This also includes iOS and Android, which can both be used to create a game for a phone.
However, this requires some installs and downloads to do, and I needed a version of my game to run on a computer. So, I went for the PC, Mac and Linux build option.


The next thing I did was go into the Project Settings and go into the Quality menu. There are a few different quality settings ranging from ultra to very low. I went through these and changed the pixl light counts of each one to gradually decrease. This isn't really something I had to do, given how simple my game is.

Next, I went into Player menu and gave my build a name and a company name. I just used my surname for this one. There's also the option for an icon, which is something I decided to create as a bit of fun.

I didn't spend much time on this, but I made sure it looked good. I used a screenshot from a previous blog and cropped it down in Photoshop. I then removed the white ground from the image and gave the whole thing a red outline.

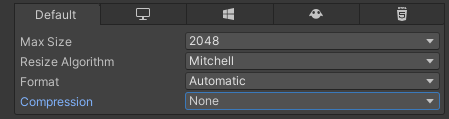
I then saved it as a PNG and brought it into Unity. I changed the settings of the image to be a Sprite, and turned the compression of the image off. With that done, I selected it as the icon in the Player menu.


Still in the Player menu, I scrolled down to the Resolution and Presentation options. From there, I selected that I wanted the game to open in a window and not fullscreen, as well as that window being resizable.
Unity also calculates what the icon would look like at different sizes, which can be altered if needed. This also wasn't necessary, I left this alone. There are some other options concerning opening the game with the Unity logo, but this isn't something I wanted to spend time on.

Finally, it was time to export out the build. I went back into the Build Settings menu and selected that I wanted to export out for Windows. I then selected the option X86, which is equal to 32bit, which will be fine for my game.
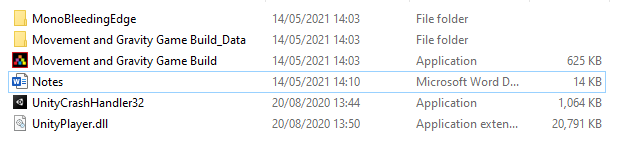
With that, I exported out the build, creating some new files to store the build in. The game was then exported out, along with everything needed to run it. I added in a document with notes about the game for anyone who might play-test it, as without context it may be hard to tell what's going on.


This concludes this post. Above are some images for my game in a window. Everything runs completely fine, which makes the export a success, as I was worried multiple times I would miss important steps somewhere in the middle of the tutorial I was following.
Sources:


Comments