Unity - Puzzle Matching Game
- Apr 28, 2021
- 5 min read
As part of the project to make a game, it's important for me to have an idea of how to code in certain elements of my game. An element that is key to my game idea is to able to click on and move various ingredients, which is something I learned to code, and will detail in this post.
I started by downloading some sprite assets from the Unity Asset Store to use for this task. Here is the link below:


Here are the sprites imported into Unity. I had a few issues with having them all show up on-screen, but I remedied this by deleting them from the scene. I then found an image to use as a background. As I wanted to use the potion bottle sprites for this tutorial, I used a magical-witchcraft themed background, which I found here:


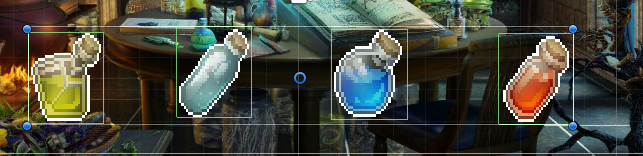
I started by finding and dragging all the sprites I wanted into the scene, and then sizing them up. I made sure to pick bottles of different size and colour so that it would be easy for me to differentiate when testing out the game.
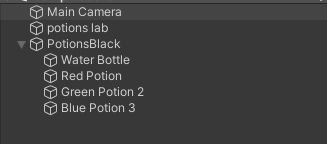
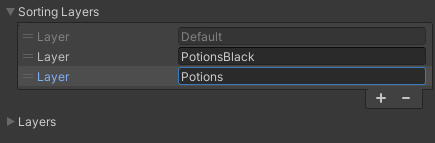


The next step was to create two new sorting layers, which I called PotionsBlack and Potions. I gave all the potions I created the PotionsBlack sorting layer, and then changed their colour to black. Because these sprite have transparency in some places, this meant that they are block colours. However, since I'm just using this to go through the process of making a game with this mechanic, it doesn't matter much.
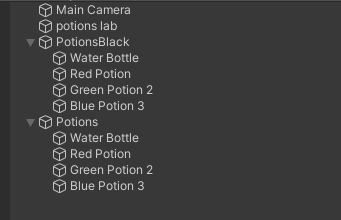


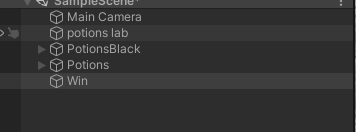
I then duplicated the bottles and changed their sorting layer to Potions, as well as reseting their colours back to how they were originally. I also created two new empty game objects with the same names as the sorting layers I created, and then parented the respective groups of potions to each one to help me with organising my project.
Since this will be a matching game, I shifted around the potions to make it more challenging. This isn't a mechanic in my game, so I wasn't too concerned about this.

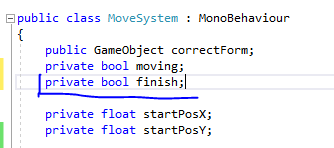
I then created a new new script to start coding, which opened up Visual Studio. I called the script


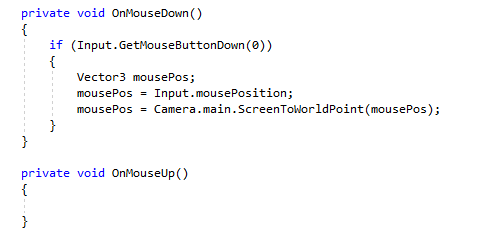


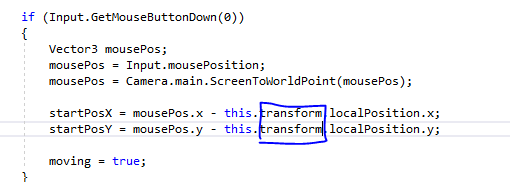
I started by following the tutorial and setting up the workspace by adding in two private voids, which I added to in the second image. I then added in code that will calibrate the position of the mouse to the game's camera, so that it will work accurately. I also needed a boolean to check whether the sprites were being moved so that the script can run correctly.
In short, these two sections of the code are telling Unity that the potions can be moved around and matched to their counterparts.


Here is the code that makes the sprites movable by clicking and dragging them. This is something I need in my game, but with the added feature of gravity. Since Unity has a component named 'Rigidbody 2D', which I can easily apply to the potions.
I also created two variables called startPosX and startPosY, which will keep track of where the the mouse is first clicked. There was a mistake in my code relating to them, which I ended up having to go back and correct. I'd typed 'transformation' instead of 'transform,' which meant the code wasn't working.
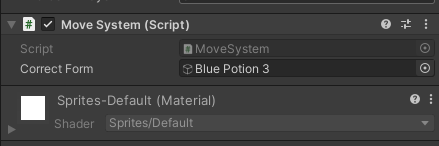


I then applied each of the bottles into the correct slots, so that when they were matched up, they would snap into the correct poitions. However, due to the mistakes I hadn't yet solved above, this took me a few minutes to get working.
Another reason the code wouldn't work was because I'd forgotten to apply box colliders to the coloured bottles. Once I did this, the code worked just fine.


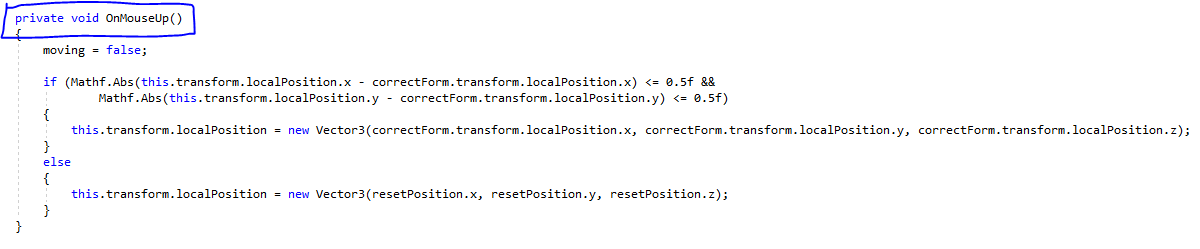

Next, I moved onto the code that will snap the coloured images to their counterparts when moved into the correct position. But first, I made sure that the images would reset if they weren't dragged and dropped in the correct places. I did this by adding in a another variable called resetPosition, and adding in a section of code which will reset the position of the images.
I then added in a section that gave will give the images there correct positions, and then reset their positions. I originally typed this into the wrong section, so I copy and pasted into the correct one.

Now the potions can be matched up with their counterparts. If they weren't snapping accurately, I could fix that with a bit of code.


I added a new boolean and then added a section of code that will make sure the images snap onto their counterparts perfectly. The results of this aren't clear when I did this, as the images already snapped well, but with more complex shapes, it may be necessary.

Now that the game functions correctly and looks nice, it's time to make sure the game has a clear ending.

Before I went onto the next part of the project, here is the complete code for the potions, some of which might be useful to my own game project.


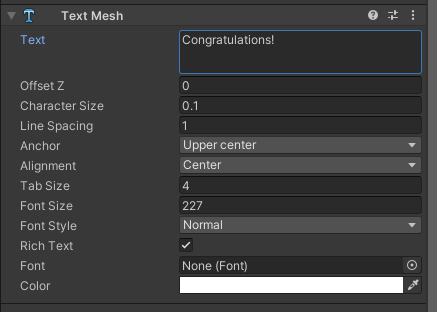
I then set about creating a simple victory screen with the word 'Congratulations!' on screen. I created a new empty game object and called it 'Win.'


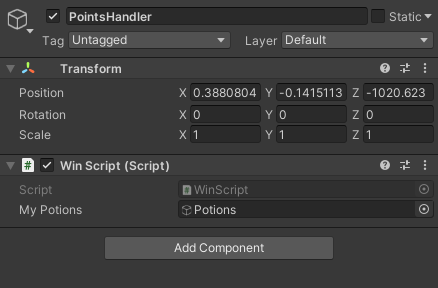
I then added another empty game object and called it PointsHandler, and parented Win to it. I then set up a Win Script for it in Visual Studio.


I also added a snippet to the original script I was working on to register when the game has been completed. It does this by looking at the number of points the player has, or in this case how many potions have been added correctly.
I also created the win script, which played off of this as well. I also coded in that the Win screen would appear once all the potions had been matched up, which didn't work at first. I realised that it was actually working, but the text was behind the game camera, so it wasn't showing up. I went into 3D and moved it into view, which fixed the problem.

That concludes this mini project. Here is how the game's ending screen looks when the game has been completed. This tutorial has been a lot of fun to follow, and it has been useful to see how to programme this, as I will have to repeat parts of this process in my own game project.
My plan is to add on some physics to the potions and see how that affects the game, which will help me work out what else I need to research into coding. My goal is to at least have the physics of my game working, so having another mechanic working will be great.
Sources:


Comments