UVing 3D models in Maya
- Nov 11, 2020
- 1 min read
UVing is something that I need to consider once modelling has been completed. Since textures require UVs to be applied.

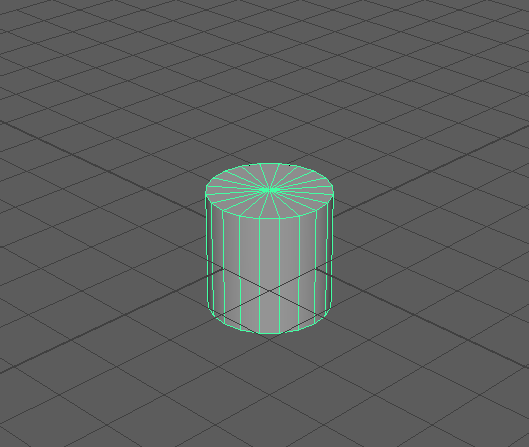

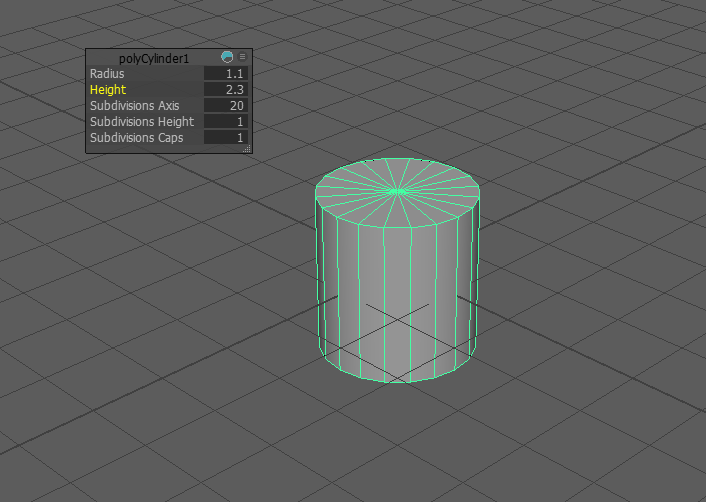


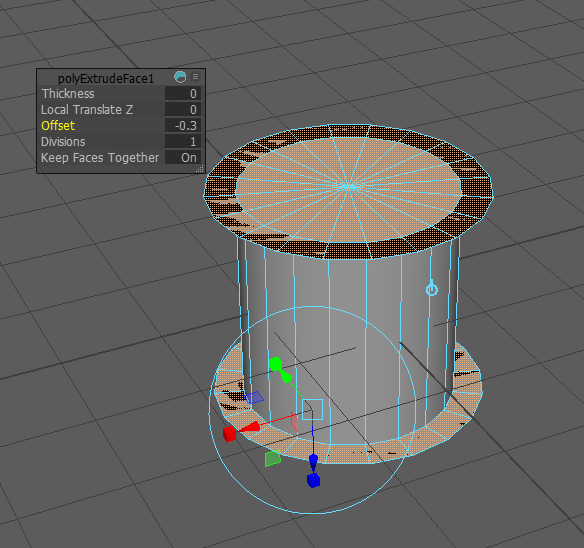

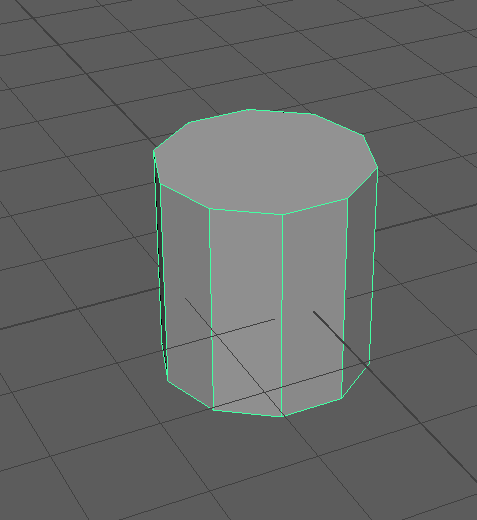

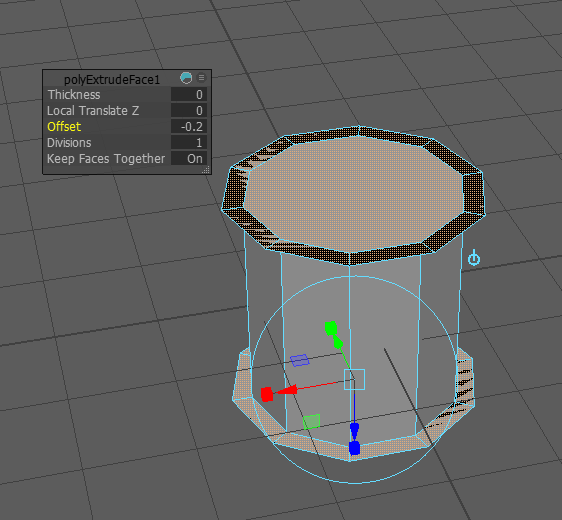

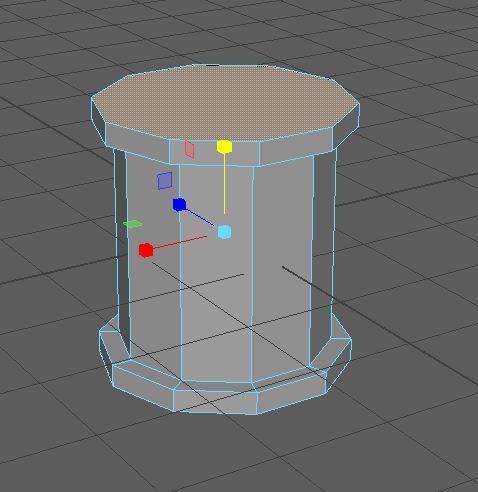

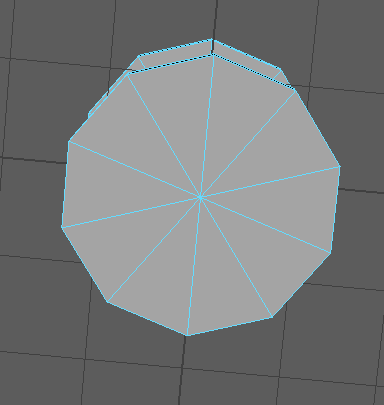
As a quick practice, I modelled a quick cotton reel, and bevelled the edges.


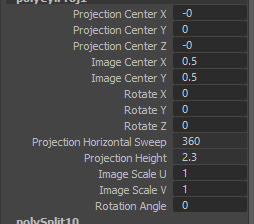


I then opened the UV menu. I selected the the UV shell of the cylindrical part of the cotton reel and selected the cylinder UV option. From here, I increased the projection horizontal sweep up to 360, so that the UV is the correct size.


It was then a case of sizing things correctly. Since some parts of the UVs are smaller, there's no reason for them to have massive amounts of detail. So the main parts of this model are the cylinder and the tops and bottoms, which meant I sized those up and everything else down.

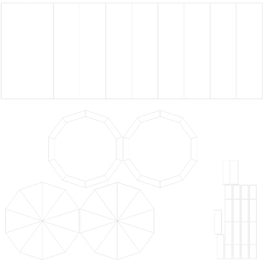


I saved a UV snapshot and brought it into Photoshop, increasing the stroke size so that it was more visible.


These are the two textures I chose for the quick test, which are rope and a Japanese manhole.


I quickly moved them into place on the UV snapshot.

Here's the saved image texture, which I saved as a PNG.


I applied the textures and looked at how the model looks like smoothed. Since this was just a quick test, I didn't pay too much attention to the neatness. This was just to make sure I knew how to do various types of UVing, which will be something I will have to do to my Revolver model.


Comments