VFX - 3D Portal Shot Part 2
- May 3, 2021
- 3 min read
Continuing from where I left off with the 3D tracking, it was now time to add in an image.


Using the new section of the node graph, I created another scene node, and attached it up to the first scene node. I gave the camera track and scene nodes their own backdrop nodes to differentiate them better, before going back to the scene node.
I attached a card, which is a 2D image plane, as well as a checker board, which will allow me to see where the card is positioned in the scene.


The first thing I did was size up the card, and then moved its pivot point to the corner and repositioned it. I did this because the origin point is also where the top corner of the cliff I want to attach the portal to is, so matching this up will make it easier to adjust its size later.

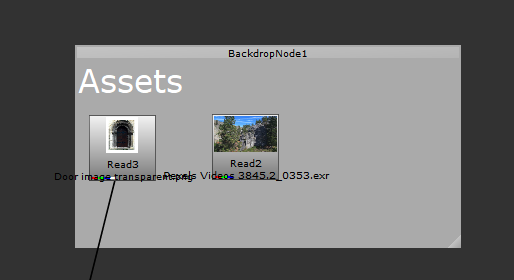
Here is the image I am going to use in this project. It's the same as the image I used in the previs. I liked it so much that I decided to use it again for the real thing. I took the image into photoshop and masked out areas of it, as well as changed parts of the colour and and sharpness to make it match the footage better.


I read it into Nuke and swapped it with the checker board, since it's better to work with the real thing as soon as possible so that adjustments can be made. I also changed the direction of the pipe so that it fed into scene 1. Before I did this, I couldn't see the checker board whenever in 2D view because I had connected the pipe the wrong way. After I corrected this, everything was visible.

However, the mask on the image wasn't showing up correctly.


This is because transparency on an image is translated to being part of the alpha channel in Nuke, so I added in a premult node in order for the alpha to be erased.

Here's how the node graph looks now. If I hadn't already edited the image in Photoshop, I could've also used a roto node to paint out parts of the door instead.


Now that I had the image in the project, I set about positioning it correctly. I went between 2D and 3D to move and rotate it around. The image was also too big in the scene, so I had to size it down. Once I did this, things became a lot easier to match up.

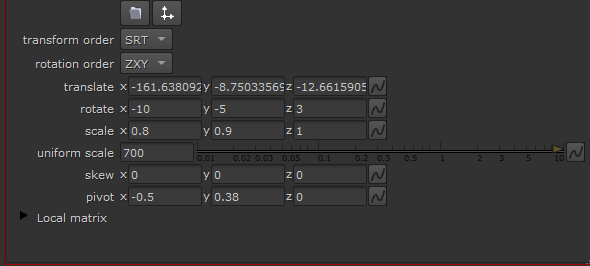


I started experimenting with different amounts of rotation, which I had lot of fun and difficulty with.

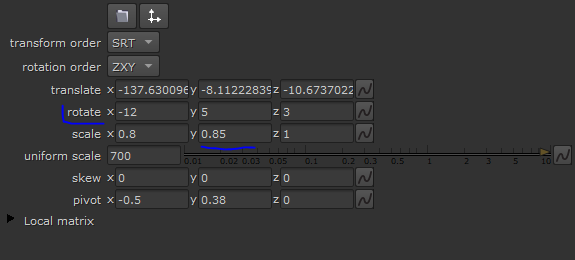


I also tried a slightly different scale, which I found worked a lot better.


I ended up rotating the Y a lot more than I thought I would, which is mainly due to how the camera is tilting downwards on the footage because of where I placed the origin.

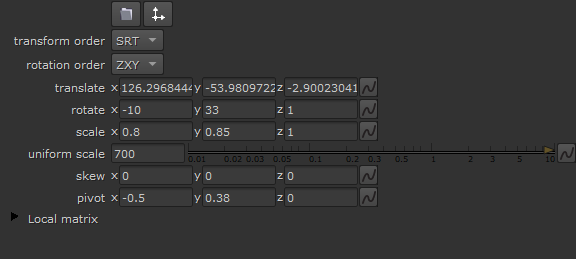


I finally found something that I felt matched the cliff really well, so I decided to test it out in the footage.


I decided that this was the version of the project that I would end the day with, as it fits relatively well into the rest of the scene.
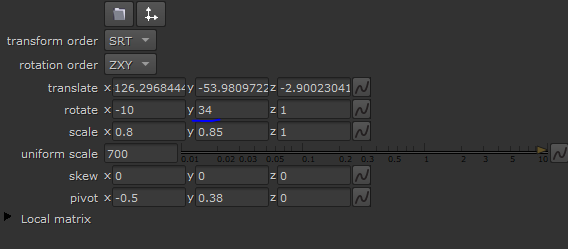


As a last minute decision, I rotated the Y 1 unit more, which may be one too many, although I will need to return to this with fresh eyes to properly decide this.


I returned to the assets and added in the image file, and replaced the one attached to the card with a postage stamp. I then attempted to roto out some of the grass at the base of cliff. I did this by adding a copy node and linking it up in the middle of the premult and image, and then hooking up a roto node to the A pipe.


I quickly made a spline shape around the bottom of the image, which I feathered. However, when I tried to apply it, only the area inside the roto would appear. I couldn't figure out how to solve this, so I deattached the roto and copy nodes from the pipeline. I moved then below in case I want to try again to solve the problem.
For now, this is where I'm up to in the project. So far, I've hit a few snags, but with a bit of help, I've been able to solve many of the problems I've been facing. The next task is working out how to better solidify the door in the scene, which is information I can get from feeback on my work, which will also give me a clue on where to go to next.


Comments