VFX - Portal Shot Part 4
- May 19, 2021
- 2 min read
Updated: May 21, 2021
Taking the feedback I received into account, I decided to experiment a bit with roto shapes on my door to see if I could add any shadows or light to the composition, as that was one of things that sticks out the most in the composition.


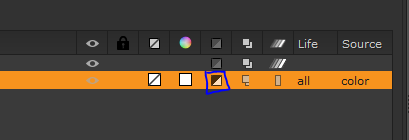
I started by creating a new roto node and attaching it to the pipeline. I attached it to the postage stamp before creating a B-spline shape in the centre of the door to act as a layer of light. This was originally intended to be used as a mask layer for the door, which I wanted to apply colour to.
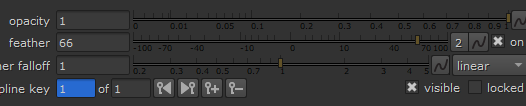


I feathered it to make it look more natural as well as tried to merge the rotos together.


Nothing was showing up, but this was because I hadn't attached the the postage stamp to the roto node. However, there was still nothing showing up.


This was because I'd forgotten to invert the B-spline in the roto menu. Once I'd done that, everything showed up like it should.


I tried to add in another colour grade that could be masked into the composition, but I couldn't figure out how to get this to work.


I went through multiple iterations of trying to make this work, but eventually gave up on the idea of using a second colour grade all together.
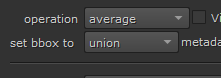
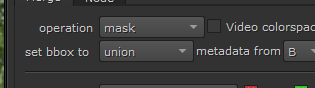
I decided to just start experimenting, and un-inverted the roto, and then set the merge layer to averge, which gave me the effect of halfway between the original image and the colour grade.

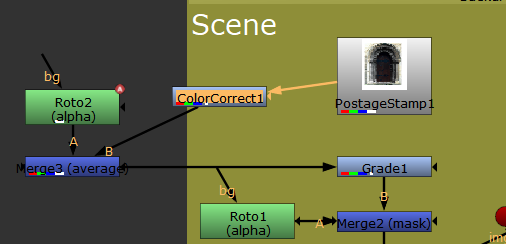
Here is how I had the node graph set up when I discovered this.


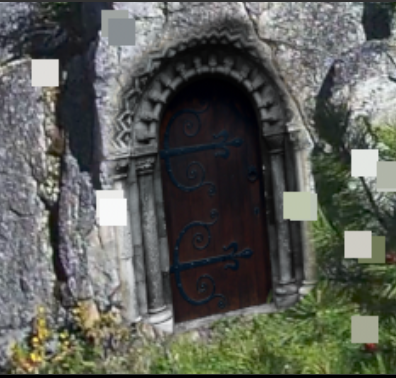
The effect adds more definition to the shadows, which is something I was trying to implement based on feedback. Here is a side-by-side comparison. The image on the left is the original image with a colour grade, and the one on the right is the door with the roto masked with the 'Average' option in a merge node.
Because of how the roto is positioned, the wood on the door still matches the trees in the footage, which is something I liked about the colour grade.
Here is how the composition looks now in response to the feedback I was given.


As an extra step, I decided to take the image back into Photoshop to quickly add a bit of lighting to the door, and then put it back into Nuke. Since I couldn't work out how to do this in Nuke, I decided that editing the image was the only other option.
Here is a render of how this looks, although this is just a quick experiment. If I were to do this properly, I would spend a bit longer in Photoshop to ensure that the door's lighting and shading is as acurate as possible.
This may be something I do as an extra step, although I want to receive some feedback on this before I go ahead with the idea.
Sources:
https://www.youtube.com/watch?v=1xP_2YZVwA8


Comments