3D modelling from blueprints
- jesskesson
- Nov 13, 2018
- 3 min read

Updated: Jun 11, 2019
Today we started modelling from our blueprints. Sam had us draw out a simple plan of how we would create the basic shapes of our blueprints. Since I had gone with an X-wing, I decided to start with the cockpit.
I started by making a cube and giving it division (since the cockpit is a strange septagon shape), before pulling out the the sides and bottom. This is to give it the right shape when creating the nose later on.

I had an easy time sizing it, but I had to make sure it didn't look too wide or skinny.
After I'd decided I was happy with how it looked, I decided to extrude it out to create the nose. I looked at the side view while doing this to help make sure it was descending gently like it should be.
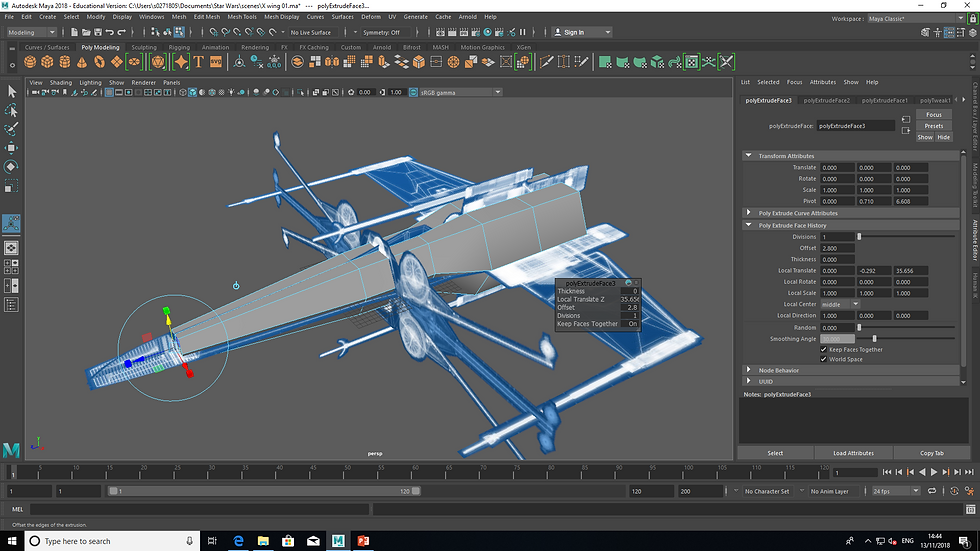
I hadn't realised it at this point, but from above, the nose is supposed to be wider at the sides, however the side view lined up, and I was focused on that at the time.
I extended it down into the nose, which I realised curved up and down in a very awkward way. However, it was easy to extrude and offset down to where the nose begins.

I extruded the nose outward to make it more prominent like it is on the blueprints before I began.
As I continued to extrude inwards and down, I realised that because of how I'd extruded it, some of the faces were overlapping and not even visible. To tackle this, I deleted them and decided that I would work on getting the shape right before replacing them. It was at this point I realised how wide the X-Wing was from above, and had started to correct it by selecting all the faces on the nose and expanding them sideways. I did the same to the vertices connecting the nose to the main cockpit.
After I'd decided to call it a day for the cockpit, I went onto the wings. I decided it would be best to attempt the thrusters before I got started with the shape of the wings. I started by creating a cylinder and rotating it to get it in the right place. Then I sized it and moved it into the right place.
This was when I ran into a problem. I realised that I'd have to offset the back parts of the thrusters, and I'd have to do it blind because my blueprints weren't transparent. After some guessing, I finally got it to line up, and I couldn't be happier with how it turned out.
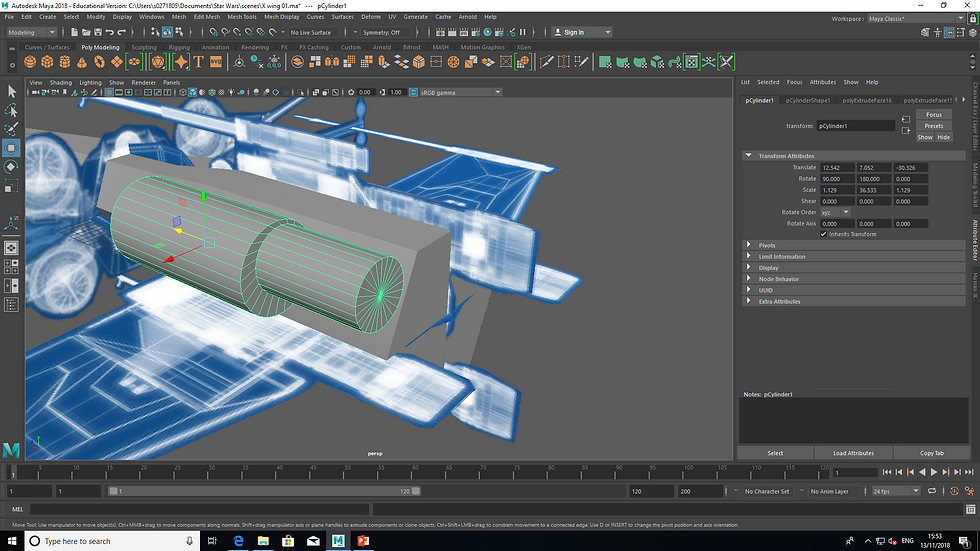
I had to move the offset to get it just right, but it ended up being in the right place.
After I had adjusted the placement of the thruster, I extruded and offset it outward to make it look like the thrusters were made of seperate materials and not one model. After I'd done that, I extruded it one last time using the top view to help myself get the length right. Now all that was left to do was make the thrusters look like thrusters. I added some extrusions and depth as well as some offsets to make the thrusters look hollow and as if they actually worked.


In conclusion, I think I have accomplished a lot today, and have really pushed myself to work as closely to the blueprints as possible.


In the next session we have to work on this, I will work on the shape of the nose, and start working on the wings. I am confident that I will be able to stick with the blueprints and finish the project.


Comments