Creating AI in Unreal Engine
- Jan 2, 2022
- 6 min read
Some games have AI in order to create obstacles for the player, such as sentries in stealth games. Since this may be something we want in our game, it's important to know how to create the AI to do these things.


I started by selecting the Third Person template from Unreal, which I will be working through some tutorials with.
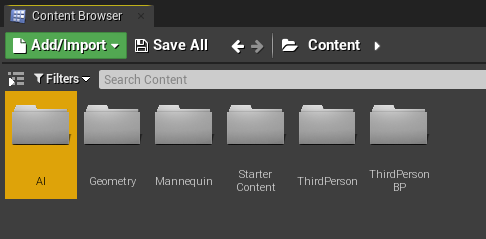


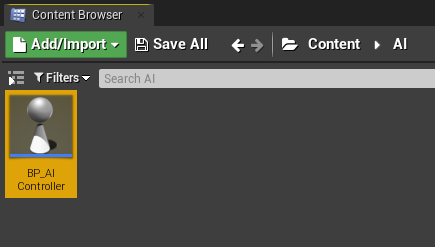
I then created an AI folder to put all of the work I do in. In the folder, I created a new Blueprint Class, using the AIController class. I named it BP_AIController.


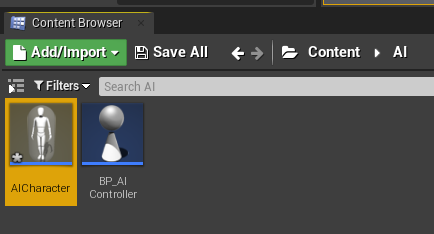
I then created another Blueprint Class, and this time selected Character. I named this AICharacter.
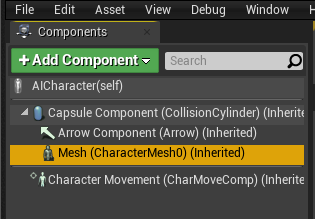
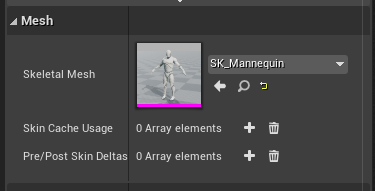
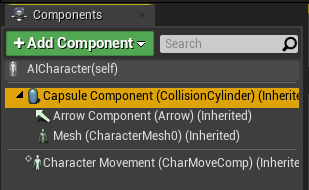
I then opened the Blueprint for AICharacter, and added a Mesh component to it. I assigned the SK_Mannequin mesh to it, which is the base for the player character in Unreal Engine.


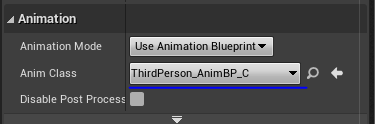
I then went down to animation, and changed the Anim Class to ThirdPerson_AnimBP_C, which are the animations that the base character normally uses.
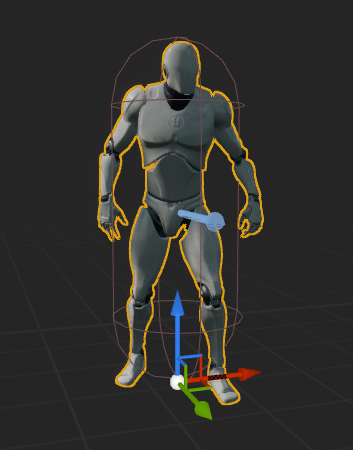
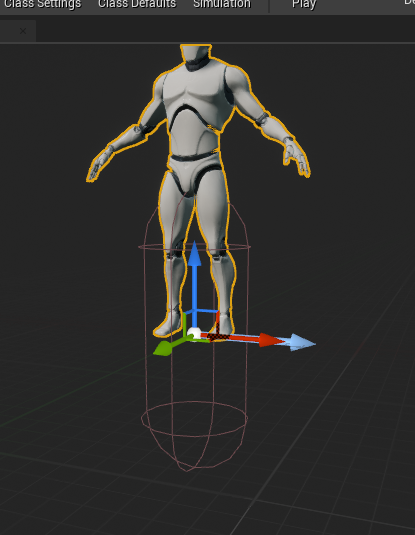
Here is the beginning of an AI enemy in Unreal Engine.

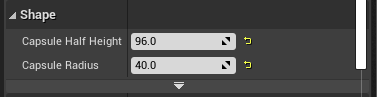
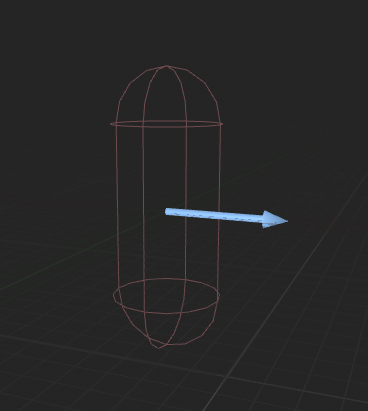
I then adjusted the Capsule Collider the character has.

I adjusted it to better fit around the character.


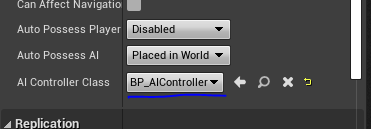
I then scrolled down to Pawn, and changed the AI Controller Class to BP_AIController.
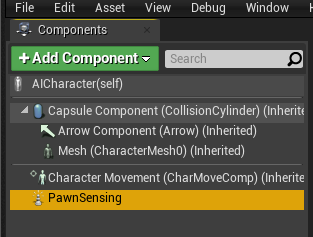


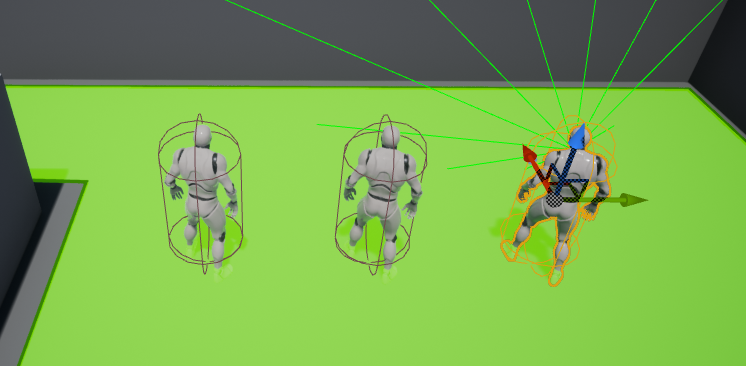
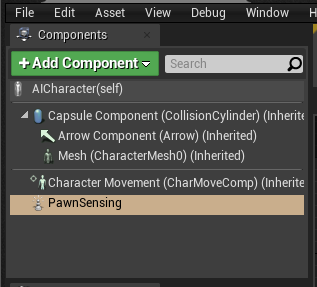
I then added a Pawn Sensing component in order to give the AI a frame of vision.
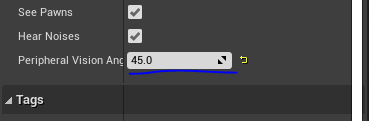


I can affect both hearing and sight, but I only wanted to change the sight. I went down to Peripheral Vision Angle and changed it to 45, which narrows down the sight the AI will have.


I then went into the event graph. I created a Custume Event, and named it MoveToRandomLocation. I then added an AI Move To, which requires a pawn (the AI character), and the destination.
I added a GetRandomPointInNavigableRadius to the Destination input, and set the radius to 500. I then linked up a GetActorLocation node, which will send the AI character to a random location within a 500 unit radius.


To execute this blueprint, I added the Event node used before to the EventBeginPlay node, which will now cycle through the blueprints I created. If I now add the AI Character into the scene, it won't yet move.
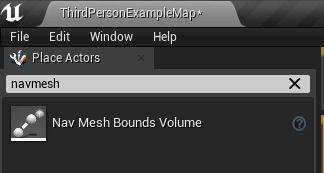


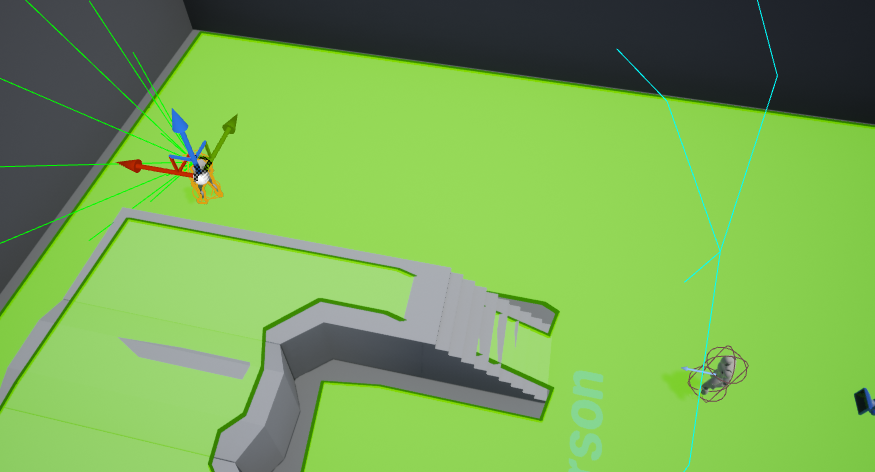
So that it can move, I have to add a Nav Mesh. In the Volumes menu, I can find Nav Mesh Bounds Volume, which I can add to the scene. Pressing P gives me a visual representation of where the Nav Mesh is. I sized it up to fill the entire space, which will allow the AI Character to run around randomly.
Currently, the AI only moves once, which isn't what a roaming AI should do.

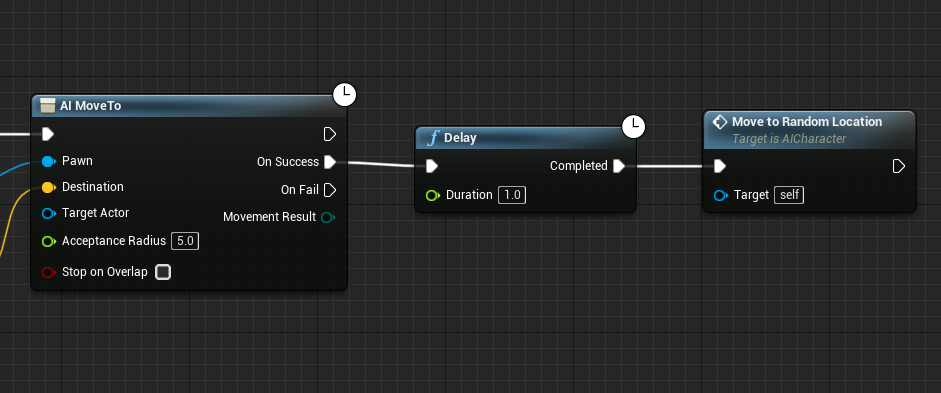


To change this, I had to go back into the Blueprints, and add a Delay pin off from the AI Move To's On Success output. I then changed the delay to 1 second. To make this a loop, I connected another event node of Move to Random Location, which will restart the blueprint.
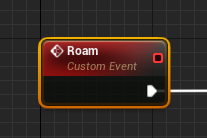
Before I moved onto the next tutorials, I changed the name of the previous Event to Roam. This will changed automatically on everything else.


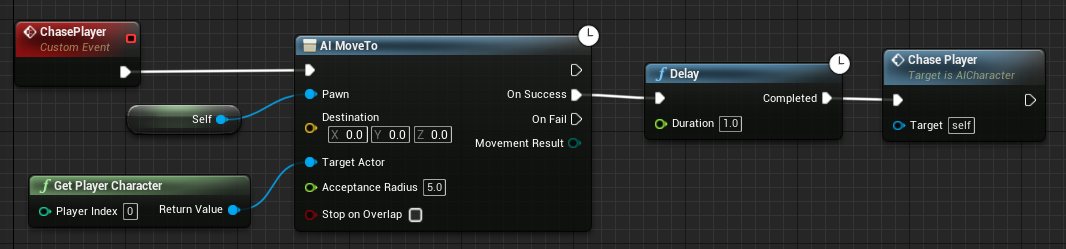

I then created a new event, and called it Chase Player. I used the same nodes as last time as a base. I then got rid of the Get Random Point In Navigable Radius and Get Actor Location nodes, and instead attached a Get Player Character node as reference for the Target Actor input. This means that the AI will chase the Player when they are seen.
I then made sure to loop this blueprint.
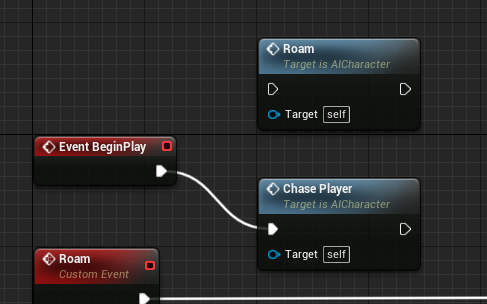
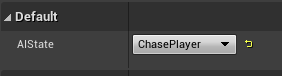
I then switched the Event to Chase Player, so that I could test it out.


In a real game, there may be consequences for being caught. To add this to the blueprint, I had to first add a Spawn Emitter at Location node from the On Success output. I then added a Play Sound at Location node, as well as a Destroy Actor node. I then added Get Actor Location as the Location for the first two nodes, which will allow the AI to locate the Player. I also changed the Emitter Template to P_Explostion, which will mean that when the AI manages to catch the player, it will blow up.
To test this out properly, I had to set the AI to be further away so it wouldn't instantly see the Player.
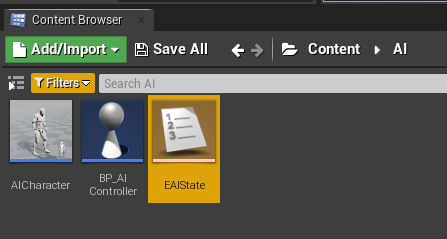
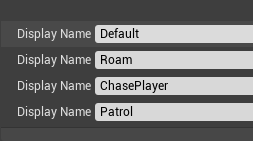
The next thing I did was create an Enumeration Blueprint, which will allow me to easily switch between AI states. I called it EAIState. I then added three new states, and called them Default, Roam, Chase Player, and Patrol.
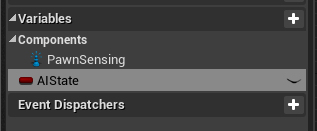
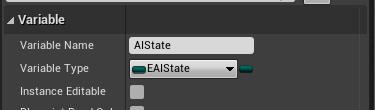
So that I can switch between these states, I went back into AICharacter's blueprints, and added a variable and called it AIState. I then changed the variable type to be EAIState.


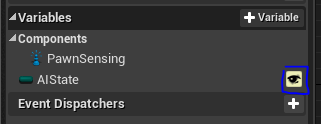
Off of EventBeginPlay, I added a Switch on EAIState node, which comes with for output nodes for each of the components I added to the Enumeration. Since I've made two of these states already, I attached them to their slots, and added the AIState variable as the Selection input.
I made sure AIState was visible so that it can be seen outside of Blueprints.
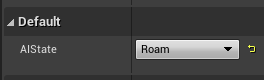
Now, from the main editing screen, I can change the state of the AI, which saves a lot of hassle.
This also means that various AI Characters can be in the scene and have different settings.
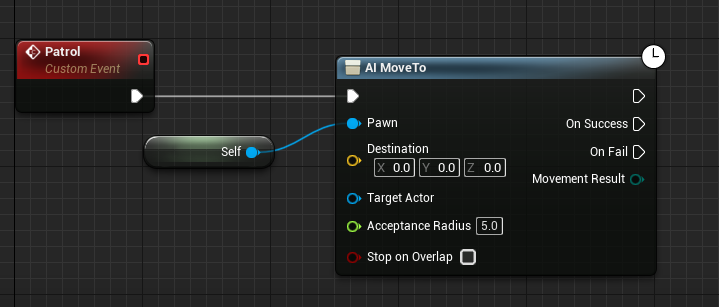
The next state I made was Patrol, which also needed an AI Move To node along with self reference.
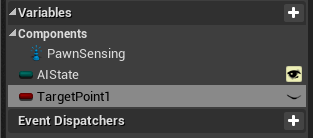

I then created a variable called TargetPoint1, and changed its variable type to Target Point. I also made it public like the AIState variable.


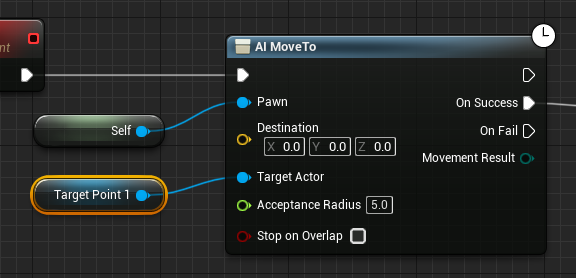
From On Success, I added a Delay pin with 3 seconds, and then added another AI Move To node, followed by another 3 second Delay and loopingthe blueprint. I then went back and attached the Target Point 1 to the Target Actor pin of the first AI Move To node.
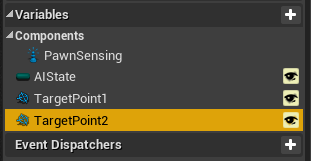
I created a second Target Point variable, and called it TargetPoint2.

I linked this one up to to the second AI Move To, which means the Patrol blueprint will have the AI moving continuously between only these two points.


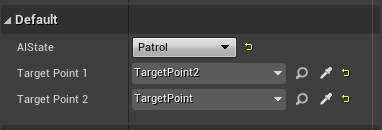
I then created two Target Points in the scene, and with the AI Character selected, the Default panel becomes visible. This is because I had made the variables public in the Node Graph. I linked up the points to the variables, which makes the AI patrol between these two points.

With the Patrol blueprint completed, I added it to the switch node.
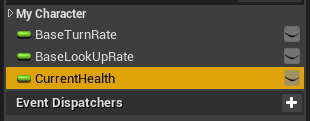
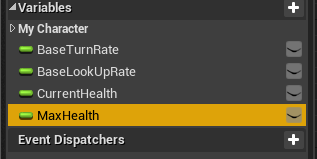
As mentioned before, in a real game, being caught by an AI enemy needs to have consequences for the player, so I went back into the AICharacter's blueprints and added two float variables called CurrentHealth and MaxHealth. I then gave them some default values (100 each).
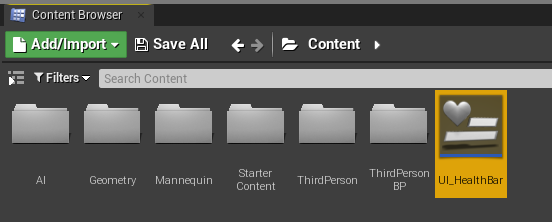


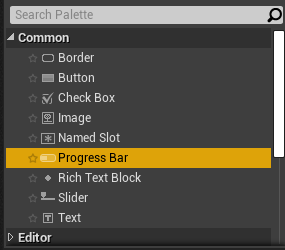
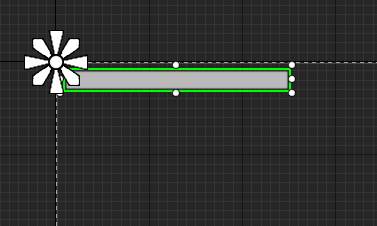
I then added a new blueprint to the Content Browser, this time a UI Widget. I then named it UI_HealthBar. This will allow us to create a HUD for the Health Bar for the player. I added in a Progress Bar in the top left corner, which will be the health bar.
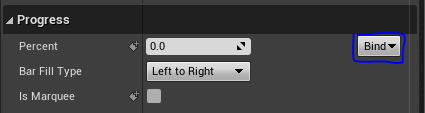
I then went to the Progress Section of the Details Menu, and selected Bind, which gave me the option to Create a Binding.


From here, a function called Get Percent was created. I filled in the space between the original two nodes with some blueprints that essentially assesses the current health of the player character, and the max health that the character can have, and then returns the value to the Return Node.

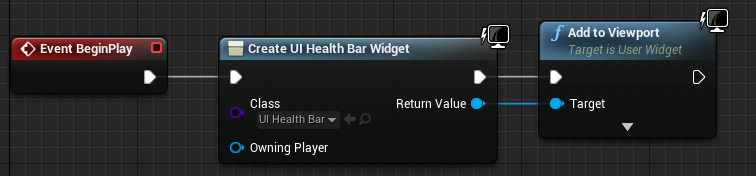
I went back to the ThirdPersonCharacter blueprint, and added an EventBeginPlay node. From there, I added a Create Widget Node, and set it to UI_HealthBar, and then fed it into an Add to Viewport Node. This now means that the Health Bar is visible for the player during play.

Here is how the Health Bar looks during play.

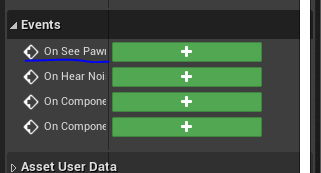
I then went back into the AICharacter blueprint, and edited the Chase State blueprint. To do this, I went back to the PawnSensing that was created eariler, and went into the Event Section. I then selected On See Pawn.
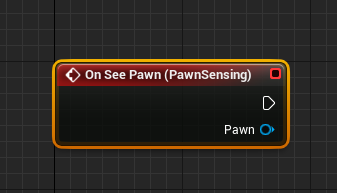
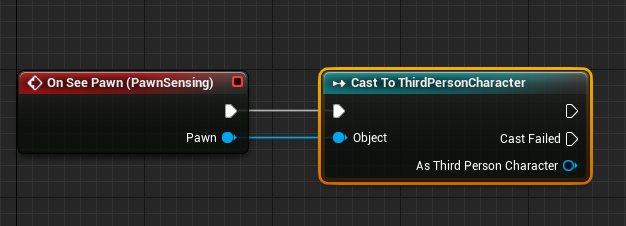

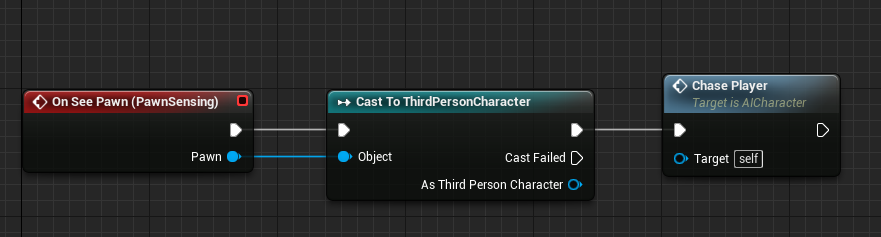


This creates a new event, which I cast to ThirdPersonCharacter. I then linked it up to Chase Player, which means that if the AI is roaming or patrolling, as soon as the player is spotted, it will shift to chasing.
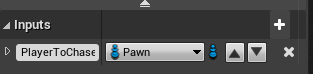


I then added a new input to ChasePlayer and called it Player To Chase, which I linked up to the Target Actor. I also started organising out all the blueprints with comments.
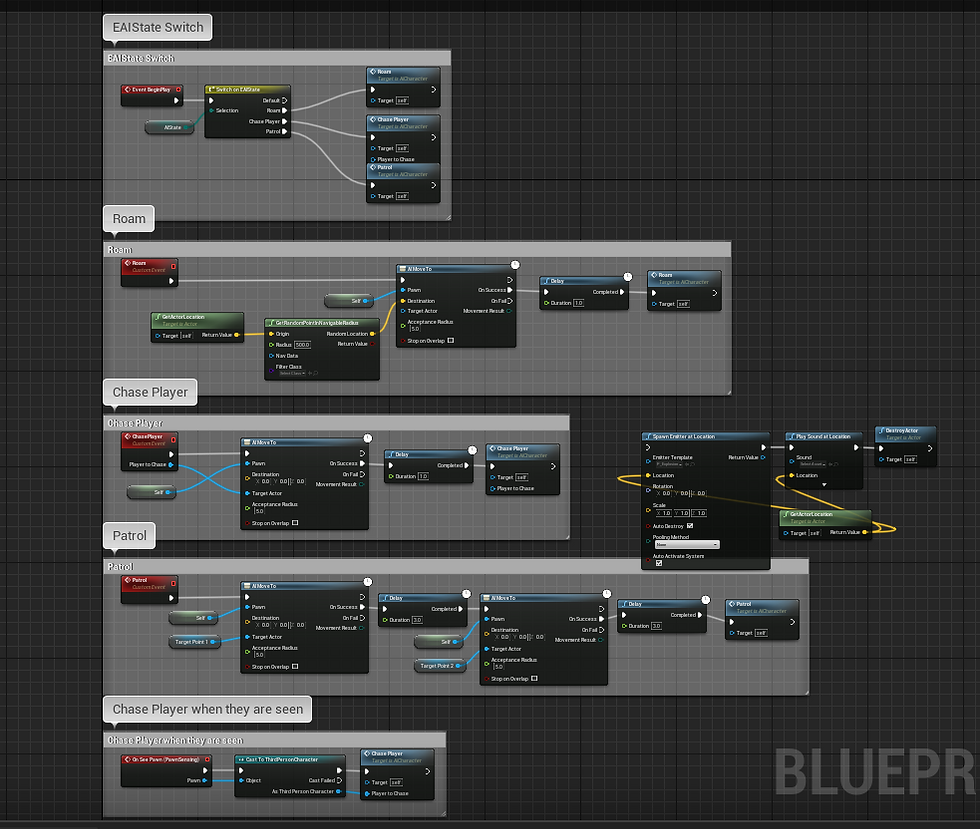
I then did this for the rest of the rest of the sections, and labelled them all appropriately.
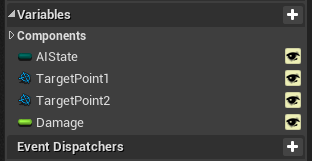


I created a new float variable called Damage, and then added a node to the ChasePlayer section called Apply Damage, which uses Damage as a base damage (default value of 10).
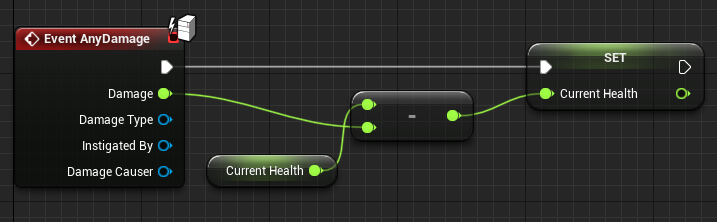
I then went back to the ThirdPersonCharacter, and added an event called AnyDamage. From there, I added a Set CurrentHealth node, and added a float division node, which is connected to the CurrentHealth variable.
This means that the player will now take damage if the AI catches them. This could be good for game project this year, since a good way to give a game some challenge is by giving the player moving obstacles such as enemies.


Comments