Greenscreen and Colour Correction in After Effects
- Oct 7, 2021
- 2 min read
The next workshop we did for the project was learning how to greenscreen and the basics of colour correction.
The first thing we did did was download a video to use for the workshop. Since this was reportedly the best video to use with the best lit background, I chose this one.
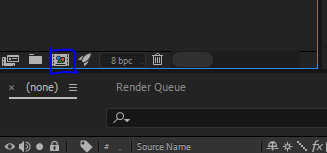


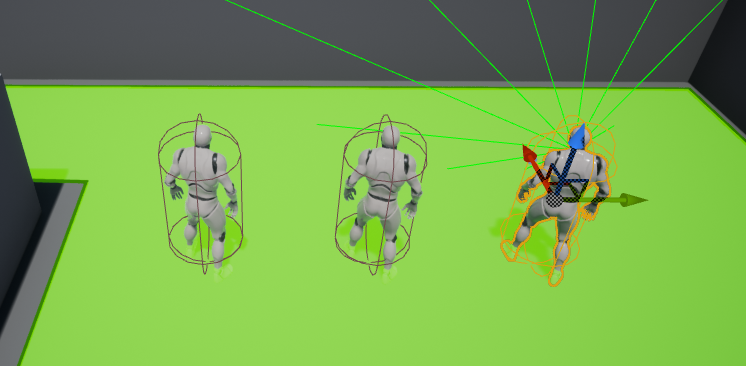
I started by bringing the footage into After Effects and making sure the project sized matched the footage. I then added a Keylight to the footage to eliminate the background. I did this by using the eyedrop tool and selecting the green background near the lady to get the most accurate result.


Here is how the footage currently looks. Showing only the alpha, it's clearer that there are still some imperfections, so I now need to go and clear these up.
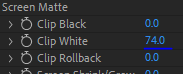


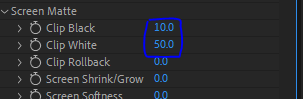
I changed the Clip White to 74, which makes the footage softer and also keeps more of the definition in the hair when keying, which was beginning to fade into the background. To check the composition, I created a solid shape and sized it up to be the same size as the footage. I then changed the colour to red and moved it to the back to use it as a checker.
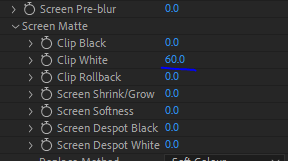

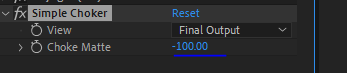
I changed the Clip White to 60 so that more wisps of her hair were visible, before adding a Simple Choker to the footage. This choker will act as a thick barrier around the footage, and be used to eliminate any remaining noise around the lady. I put the Choke Matte up to -100.

Here is the footage with the Choker, currently.
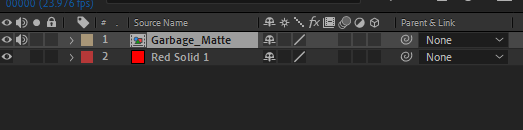
The next thing to do is to to precompose the footage as a garbage matte, which is what the choker was created for. I moved everything into this new composition. I decided to adjust the keylight one last time before redoing this and moving to work on the Garbage Matte.


I applied a Keylight to it and then selected the pixels in the choker, which cleared them away.

Here is how the footage looks now.

As a quick test, I decided to check the composition size so that I can find a background to put the lady in.
Here is how the lady without a background. The proportions are off because I had to hastily export this through Premiere Pro to compress it.
Here is the background footage I selected to use from Pexels:
Video by Engin Akyurt from Pexels

I imported the video and dragged it to the back of the composition.


Since she isn't very well situationed in the scene, I created an adjustment layer and precomposed it to experiment with colour correction. I applied Lumetri Colour to the adjustment layer, which will be what I use to adjust the colours.


From here, I will want to set her back to more neutral lighting conditions, as she clearly has studio lights on her. To do this, I added a tint of blue to balance out the warm lights. With this, it would be easy to apply a LUT (Look Up Table) to the adjustment layer, which would fix the colours of the footage to match up with something else.
This will be helpful if we end up using the greenscreen studio for our projects, and have to light and colour grade different environments the same.


Comments