Unreal Engine Exercises
- Nov 9, 2021
- 9 min read
To get more used to Unreal Engine, I worked through some exercises and lectures in order to become more familiar with the software. There were six lectures in total, and I had a lot of fun with all of them.
Lecture 1
Lecture 1 starts with a quick introduction to Unreal Engine's Blueprints, which is something I wanted to learn more about using. I also got a basic rundown of terminology and the basic components that can be used, which then allowed me to jump right in.


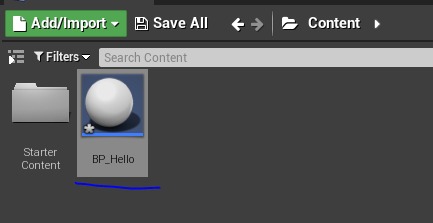
I opened up a new project in Unreal, and started by creating an Actor, naming it BP_Hello.
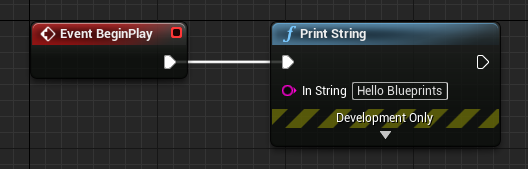


From here, I opened up the blueprints, and added a Print String node to the Event BeginPlay starting node. This will mean the words 'Hello Blueprints' will appear when the game is started.
I dragged the actor into the scene so that the code will funtion.

Here is the text in the corner. It only appears for a limited amount of time after the game is started. This can be adjusted in the Print String node.


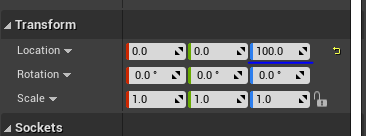

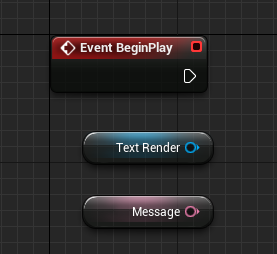
Back in BP_Hello, I reopened the Blueprint and deleted the Print String. I then added a Variable and called it Message, along with a Text Render component. I set the Text Render to a location of 100 on the Z axis, and to the colour green.
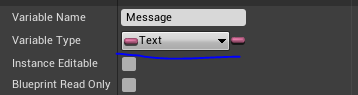

Going into the Message Variable, I changed the Variable Type to Text, which will allow me to input whatever message I want. I chose 'Hello'.

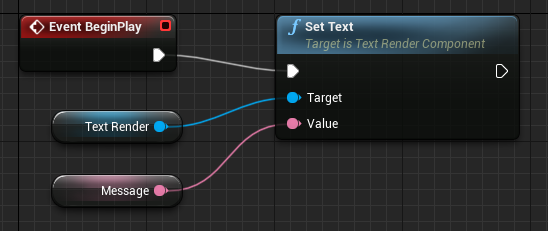
Using the Event BeginPlay, I added in the Text Render and the Message components, before connecting them to a Set Text node. With the Text Render as a target and the Message as the value, the word 'Hello' will be rendered at the centre top of the screen in green when the play button is hit.

I positioned the BP_Hello Actor in the scene once again.

I then pressed the play button. The game now has a green 'Hello' visible in the scene.
Lecture 2
For lecture 2, I stayed in the same project so that the PC I was working on didn't accumulate too much files so soon in the year.


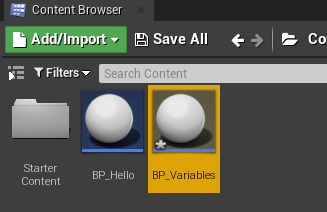
I started by adding an Actor, and naming it BP_Variables.
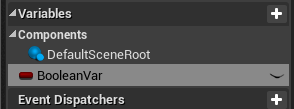
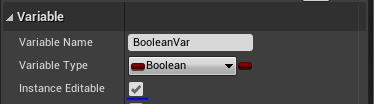
I then started creating different Variables. I started with a Boolean, and called it BooleanVar.
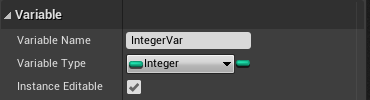
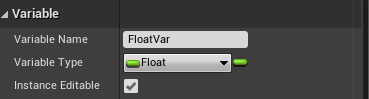
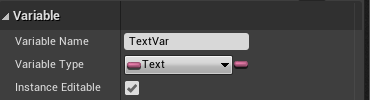
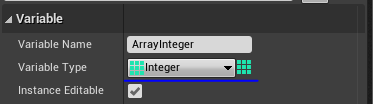
The next variables I created were IntegerVar, FloatVar, TextVar and ArrayInteger.

Here is the list of variables created. These will be used for future exercises.
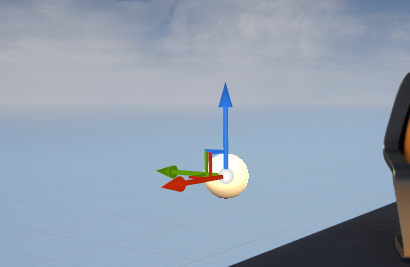
I then placed the BP_Variables Actor in the scene.

By placing BP_Variables in the scene, the values of the variables can be edited from the Unreal Editor rather than the Blueprint Editor.


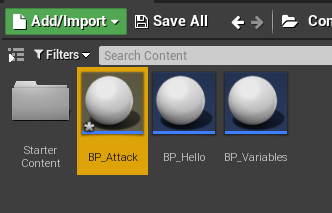
Once again, I created a new Blueprint, and called it BP_Attack.
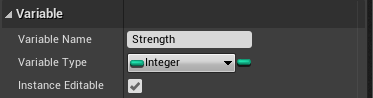
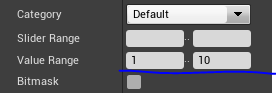
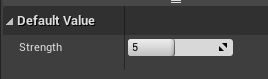
I gave it an Integer Variable named 'Strength' within the Blueprint Editor. I then set the Value Range of Strength to 1 - 10, with the default value at 5.
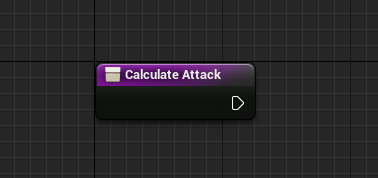
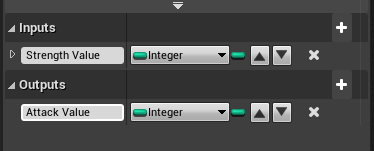
I added a 'Calculate Attack' function, and added two input parameters, one named Strength Value, and the other Attack Value. Both of these were set to the Variable Type Integer.


I added in a Return Node in the Calculate Attack function, which will be used later on to execute the Blueprints I'm about to set up.
I then went back into the Node Graph and connected the Event PlayBegin node to the Calculate Attack function. I then used the Strength Variable as the value input for the function. Connecting off of this, I added a branch, with a condition that changes the text that will appear on screen depending on whether the attack was over a certain amount. This comes in the form of two Print String nodes, which will print different messages in two different colours.

Here is how the Print String works in the game.
Lecture 3
Starting lecture 3, I had a quick look through the lecture presentation in order to get a better understanding of what to expect from the next two exercises. This lecture was all about creating construction script.


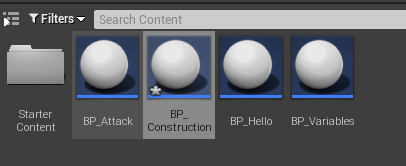
I started by adding in another Actor Blueprint, this one called BP_Construction.

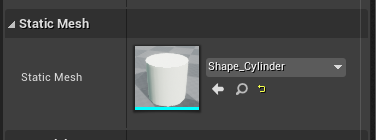
I added a Static Mesh into the Blueprint Editor, and assigned Shape-Cylinder.

This means that when this is placed in the scene, it will be a cylinder.
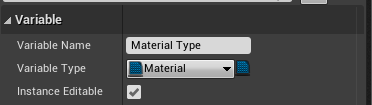

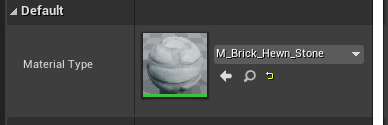
Now to give the cylinder a texture. To do this, I first had to make a Variable, and change the type to Material. I then named the Variable Material Type. From here, I went into the Construction Script tab and then added a Set Material function on. I then connected the Static Mesh and Material Type components to the Target and Material nodes respectively. I then set the Material Type texture to M_Brick_Hewn_Stone.

When placed in the scene, the cylinder has this texture.
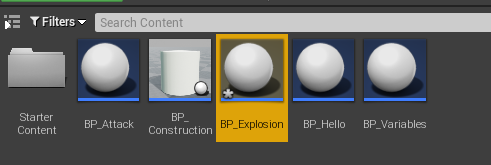
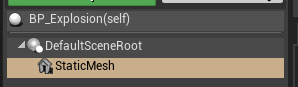
Now onto the next exercise attached to this lecture. I added another Actor, and called it BP_Explosion. I opened it's Blueprint Editor, and added a Static Mesh to it.
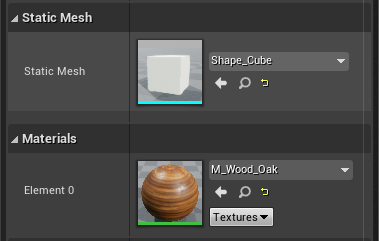


I then set Shape-Cube to be it's mesh, and M_Wood_Oak to be the material.
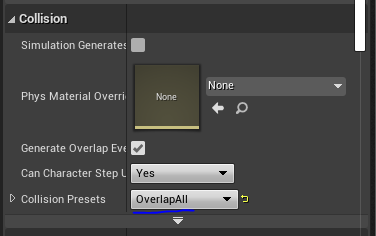


From here, I want to create a box that will explode when overlapped. To do this, I set the Collision of the Static Mesh to Overlap All, and then added a Blueprint Effect Explosion node connecting off the Event Actor BeginOverlap node. From there, I used the Get Actor Transform node as the Spawn Transform for the node. I then added a Destroy Actor node, which will erase the box once the explosion has happened.
Lecture 4
Next I moved onto lecture 4, which had me creating a new project to do some exercises in.


This time, I needed to use a Third Person game with starter content, so that I would have a character to play as to test the exercises.


This exercise will have me create a 'switch character' function, so I started by creating a folder, then a sub-folder, called ThirdPersonBP and Blueprints. Inside Blueprints, I duplicated the character and labeled them all from 1 to 3.
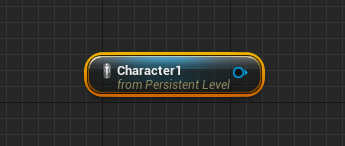
I then opened the Level Blueprint and selected Character 1. With Character 1 selected, I made a Reference to the asset in the Event Graph. This will mean I can link up nodes that wil effect the playable characters all in one place.
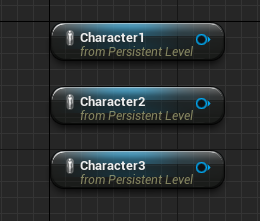


I made References to the other two characters, before creating Node that correspond to button commands.

I linked them all up, which will now allow me to switch between characters in game.
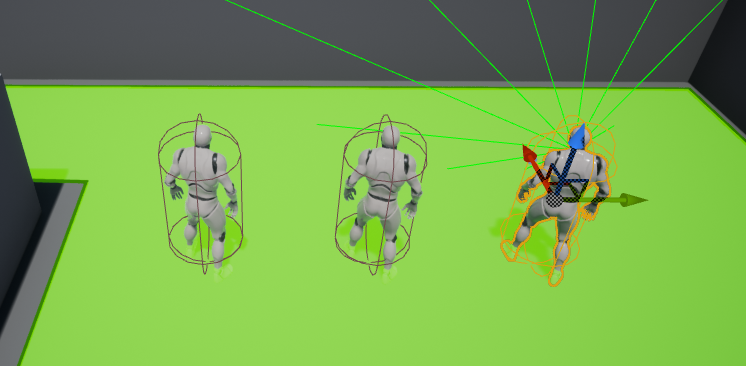
Here is how the character switching plays. If this was a real game, the characters would be different in design, and possible would be introduced by some text, which is something I learned to do earlier.


Onto the next exercise, which is to create a HUD to display on the screen whilst the game is being played. I stuck with the same Third Person project in order to do this.
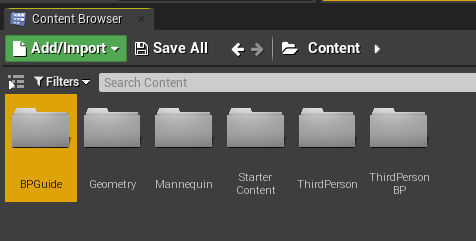
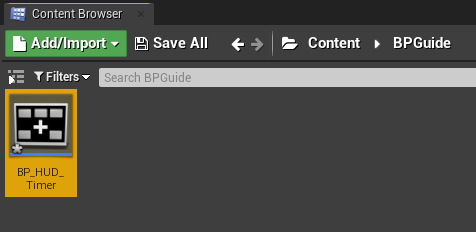
I started by creating a new folder called BPGuide, which will be where I work for this excerise. Inside BPGuide, I created a Blueprint Class with the HUD Parent Class, which will be used to display the HUD in the game. I named this BP_HUD_Timer.
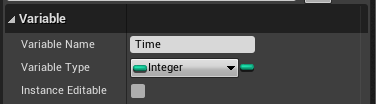
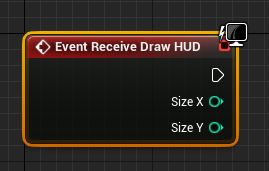
I opened the Blueprint Editor and started by adding in an Integer Variable named 'Time'. I then went into the Event Graph, and created a node called Event Receive Draw HUD. This will be used as the first step to broadcast the HUD.

From there, I connected a Draw Text function, and used a Buildstring node to connect to the Text point of the Draw Text node. I then added in the Time Variable to the In Int node, which means that whatever value the Variable Time has will be displayed on the screen.
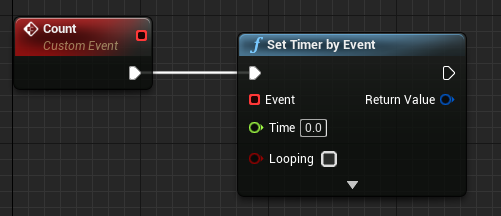


However, Time hasn't been declared yet, and doesn't have a set value yet. Since a timer in a game is always changing, the next thing that has to be made is a timer. I added in an Event BeginPlay node, and linked it up to a Set Timer by Event node. To the Event point, I linked up 'Count', which in turn is connected to Set. Leading into the Time pin of Set is an Addition node, as well the Time Variable.
All this together declares that the value of Time counts up 1, with an interval of 1.0 seconds, which makes a timer.
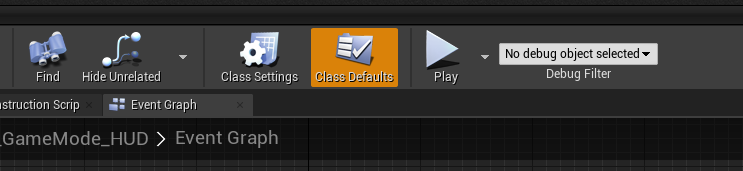

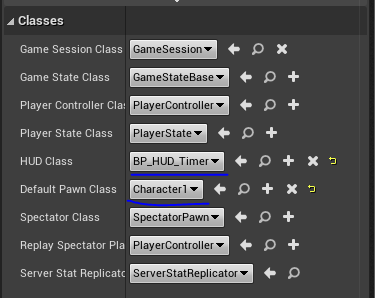
I then created a new Blueprint Class, with the Game Mode Base class, and named it BP_GameMode_HUD. I then opened the Editor and clicked on Class Defaults. From here, I was able to change the HUD Class to BP_HUD_Timer and the Default Pawn Class to Character 1, which means that the game will start with Character 1 being playable.


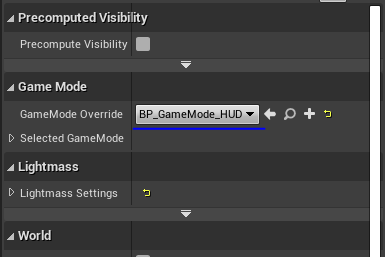
I then went into the Level Editor and opened World Setting, and changed the GameMode Override to BP_GameMode_HUD.
Here is how the game plays with a timer active in the corner.
Lecture 5
Lecture 5 is one that I struggled with, as things constantly went wrong as I went through the lecture to prepare for the add-on exercises. The point of these exercises was to create a game in which statues must be collected within a time limit. I couldn't get it to work entirely when I did it.


I started by creating a new Third Person project, much like with lecture 3. I then deleted the extra staging that came with the starter content.
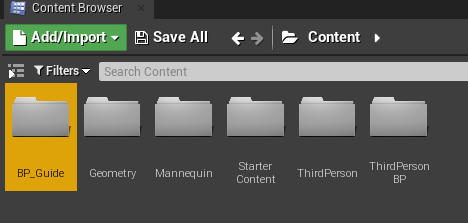


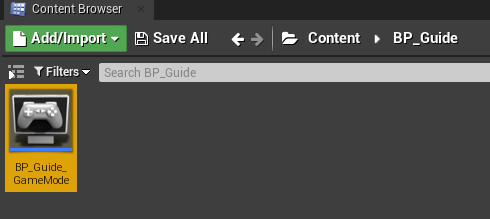
I then created a new folder, and once again called it BP_Guide. This time, I added in another Game Mode Base Blueprint Class, and called it BP_Guide_GameMode.
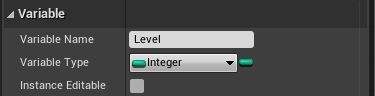
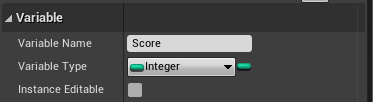
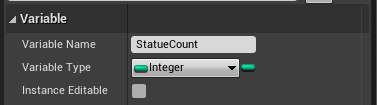
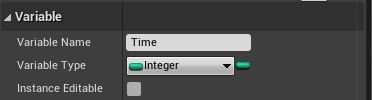
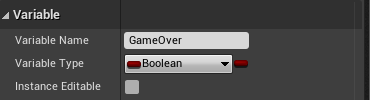
I opened the Blueprint Editor and then added in four Integers: Level, Score, StatueCount, and Time; and one Boolean: GameOver.

These will be used to create code for a game.
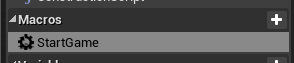
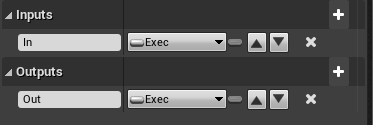
I created a Macro, and called it StartGame. I then added the 'In' Exec Input, and the 'Out' Exec Output.


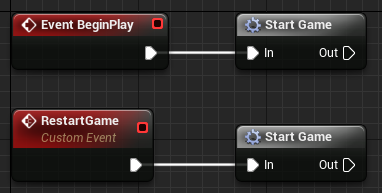
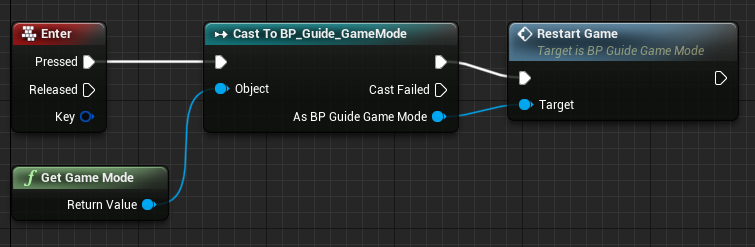


Here are the first Blueprints for the game. The first is the process of the Input to Output needed for the game. The second also explains this, and the third is for the player character. the fourth is to establish a clock that will count down until the game has ended.
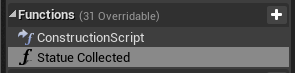

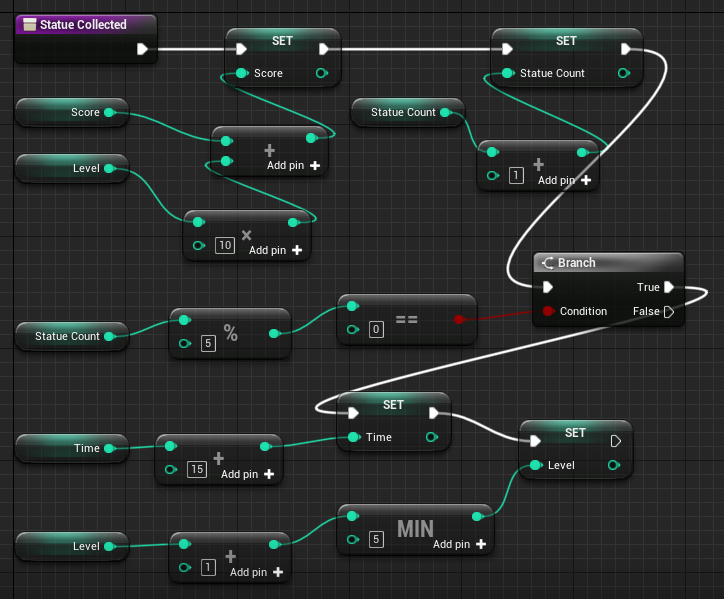
Here are the blueprints for the Statue Counter to function. There is also a level funtion in there, which will rely on the count of the statues the player has collected to calculate the value.


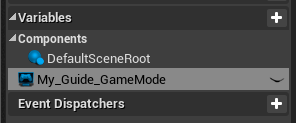
I then created a new HUD Blueprint Class, and called it BP_Guide_HUD. Inside the editor, I added variable called My_Guide_GameMode, with the type 'BP_Guide_GameMode Object Reference'.
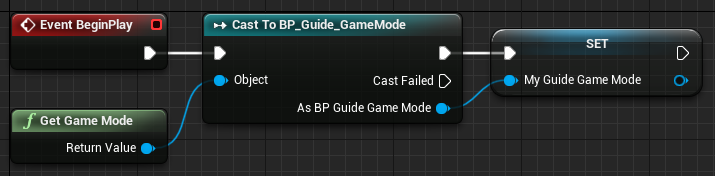


I started by creating an event that will set My Guide Game Mode to the activate game mode for this game, and then set about creating the HUD display that will appear on screen during play. This will display the score, time, and level. It will also display a Game Over screen, but this is conditional.


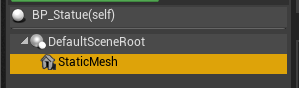
Now is the time to create the Statue. I created an actor and called it BP_Statue. In the Blueprint Editor, I added a Static Mesh component, so that Unreal recognises this as an item.

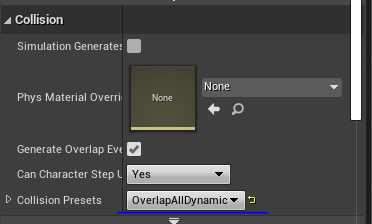


In the Static Mesh panel, I changed the Static Mesh to SM_Statue, whih came with the starter content. I then set the Element 0 to M_Metal_Gold and changed the collision to OverlapAllDynamic. In the viewer, I can view the mesh I just created.


Now to add some blueprints to the mesh, which unfortunately resulted in some errors for me. I started by initiating the code for the statue, before moving onto a blueprint for the statue changing positions and the intervals between each change, and a blueprint for when a statue is picked up. This will detect the statue, and also destroy the statue once the player has collided with it.
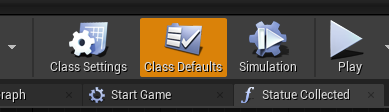


I then went back into BP_Guide_GameMode and open the Class Defaults, and changed the HUD Class to BP_Guide_HUD, and the Default Pawn Class to ThirdPersonCharacter. This will ensure the HUD is displayed, and that the game runs correctly. Unfortunately, I had a few errors whilst doing this, so the game likely won't run correctly.
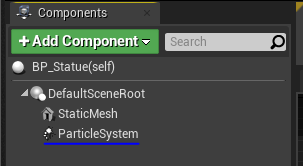


Moving onto the smaller exercises, this one is to add a flare particle effect on a statue. I started by opening BP_Statue, and adding a ParticleSystem component. I then changed the Template in Particles to P_Sparks, which will cause particles to come out of the statue during play.

The next exercise involves creating a rank system based on the number of statues created. I opened BP_Guide_GameMode and added a new string variable called Rank.


The next thing I did was create blueprints explaining the different ranks and what values they portain to in game, and a conditional statement on when they should be displayed on screen.
Lecture 6
Lecture 6 focuses more on using structures, numerations and arrays in blueprints, which is what the exercises are centred around.


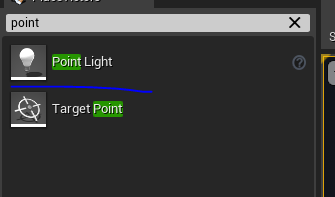


The first exercise is to create a group of lights that light up when the player approaches. To do this, I first created a wall and placed 4 PointLights in front of it. One of the PointLights refused to work, but this will be resolved later.
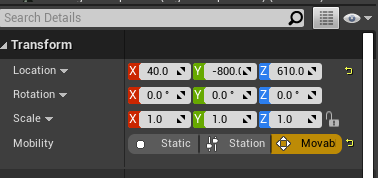


I then changed the mobility of the Point lights to Movable, which fixed the problem with the third light along.

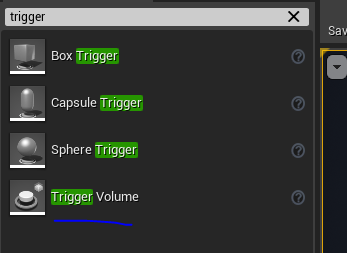


I then added a Trigger Volume to the level, and placed it beneath the lights.
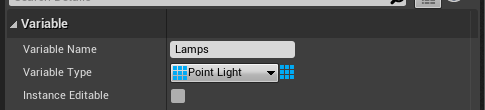


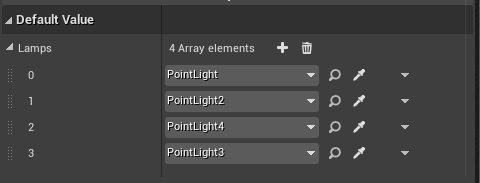
I then opened the Level Blueprint, and created an array variable called Lamps which also acts as an object reference for the Point Lights. In the Default Value section, I added four elements, with each of the lights selected in the scene.
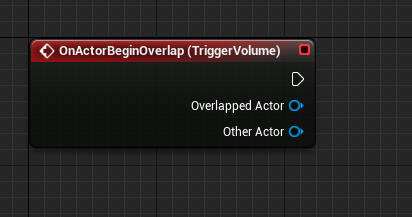


In the Event Graph, I added in some nodes that will toggle the lights on and off depending on whether the player is inside the Trigger Volume or not.
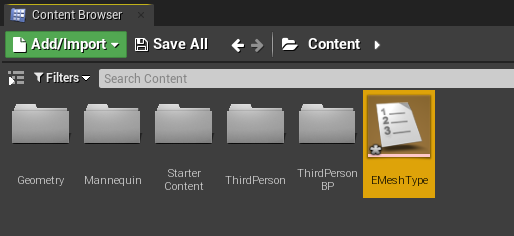

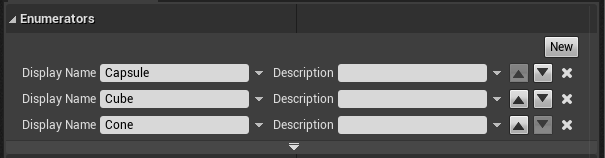
Finally, for the last exercise, I created an enumeration that will allow the user to edit something from within the level editor rather than the blueprint editor. I started by creating a Blueprint Class with the type Enumeration, and named it EMeshType. I then opened it and added three Enumerators, called Capsule, Cube and Cone.


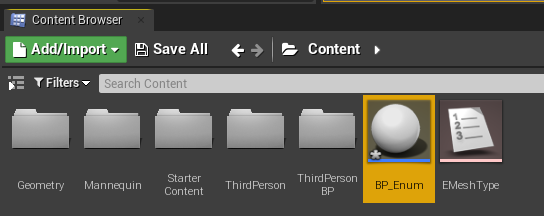
I then created an Actor Blueprint Class, and named it BP_Enum.


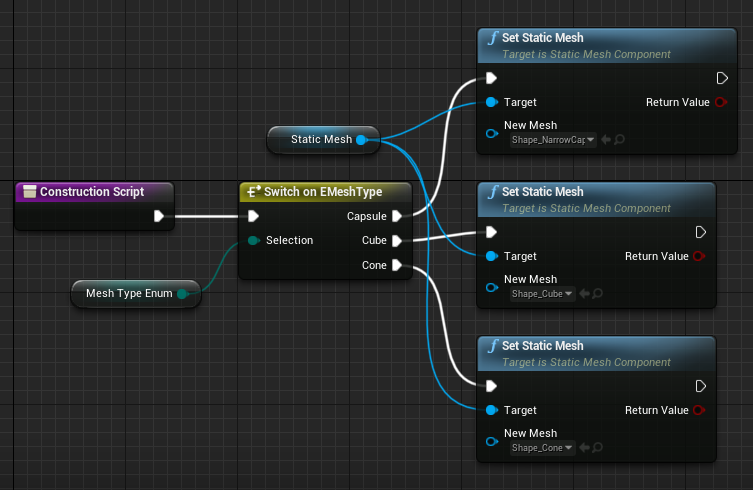
In the Blueprint Editor, I added a Static Mesh, and a variable called MeshTypeEnum, and changed the type to EMesh Type. I then went into the Construction Script panel, and added three different Set Static Mesh nodes, which connect to the Enumeration node in the centre. Each of the Static Mesh nodes have different shapes, which means these will be interchangeable in the Level Editor.


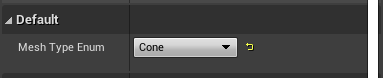
In the Level Editor, I can now select what shape I want this Static Mesh to appear as.


It can be a capsule, cube, or a cone.


This concludes the exercises I did in Unreal Engine. I ran into a few problems, and whilst I was able to fix the majority of them, I still had problems with errors and not being able to find the correct nodes I needed.
However, these exercises and lectures have made me much more comfortable with using Unreal and creating Blueprints. All these skills will be useful when we really get down to designing a game and deciding what mechanics we want to include.


Comments