Unreal Engine - Hour of Code Workshop
- Oct 30, 2021
- 5 min read
Since we will be using Unreal Engine to produce a game by the end of this year, it is important that we understand what Unreal is capable of, and how to use the programme to do what we want.


I started by creating an Epic Games account so that I can use the software, and also so that I can download some content in order to follow tutorials around it. Once I'd downloaded the content, I opened the project in Unreal Engine and had a go with the control and navigating around some of the menus.


I had a quick go at adding simple assets to the scene. The controls are similar to Autodesk Maya when it comes to moving objects, so it was easy for me to adjust in this.


I can also move, rotate and scale objects just like I can in Maya as well.


In the top right of the view port, I can change various settings, such as having a grib view or not.


There are also menus for assets on the right of the screen when an object is selected. From here, items can be edited and changed, such as the position, material, static mesh, and whether or not an object will be moveable by the player when the game is running.


Now to get to some exercises. When starting the game, the player is trapped in a room with no way out, and a long gap leading somewhere. To solve this first problem, I must find something to bridge the gap.


I used the circular platforms to create a bridge. By holding Ctrl and dragging one, I can duplicate it. Since the original platform is already set for a player to walk across, I didn't have to edit it any further.

This wasn't the only gap I had to bridge, as the level is full of floating islands. In order to progress, the player must have a way to traverse between islands. I used the island assets in the same as I did with the first gap, this time gradually raising them in height so that the player can climb up to the next large island.
Here is how the game is looking so far.


I can't yet move onto the next island, however, since there are still crucial things to be done. Say if the player fell down into the gap between the platforms. Since there is no way to get back up, a barrier that restarts the player must be added.
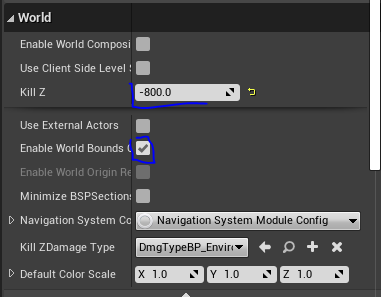
This process also needs to be extended to the world, so I went into the world settings and turned on the World Bounds. This ensures that the player will start from the original position.
Here is the barrier in the hallway, which restarts the player.
Here is the World Barrier that will restart the player if they fall off an island.


Moving onto the next island, the next thing for me to do is to add in a checkpoint, which will mean the player will respawn there instead of at the beginning if they fall off during any of the future challenges.


Double clicking on the checkpoint in the asset folder opens it up the blueprints. Here is a look at how it's been set up to function. I edited the Value colour input in one of the nodes, which will correspond to the colour that the checkpoint's button will turn to show the player that it's been activated.
Here is how the checkpoint works.
Here is what happens if the size of the checkpoint is altered and the player dies.


I needed to make another bridge, but this one will have more challenge to it.
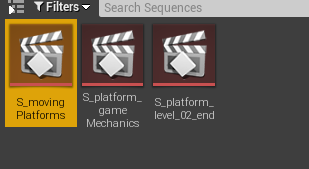


I'm going to animate these platforms. I created a sequencer and called it S_movingPlatforms. I opened the sequencer with the three floating islands selected, and set about animating them to be challenging to parkour across.

I started by animating the first island by going through the timeline, adding a keyframe, then moving the island where I wanted it to go. I used even intevals to make it easier for myself. To make this more challenging for the player, I could've made the intevals randomly spaced.
Here's how the animation on the first island looks so far.
Here's how parkouring across the islands is so far.

I then went back into the sequencer and animated the other two islands. I made sure that none of them stopped at the same times to make parkour more dificult.
Here's how all three islands animate together.
Here's some parkour across the three islands.


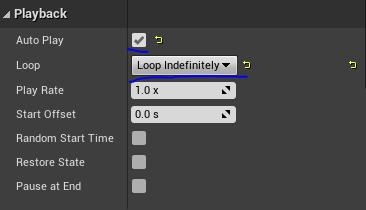


To make the animation work, the sequencer has to be placed in the level near the things it's animating, so I placed it at the end of the tunnel leading to the islands. I also had to go into the playback menu of the sequencer, and set it to loop indefinitely, which means the islands will constantly be moving.
The next thing I did was place another checkpoint after the moving islands.

I then added in a jump boost, and placed it at the edge of the island leading to where the player needs to go.

Here is the blueprint for the jump boost, which boosts the player's jump height for a limited amount of time.
Here's how the jump boost works in the level.


In the next area, I added in some coins for the player to collect, along with another jump boost to add a bit of fun to collecting them.
Here is what collecting the coins in the game is currently like.
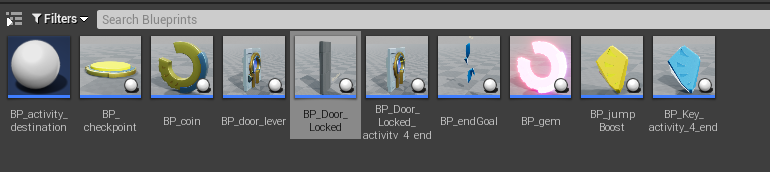


Finally, I move onto the final island, which will mark the end of the level. I opened the BP_Door_Locked to have a look at the blueprints. The blueprints esstentially lay out a condition in which the door can be opened. The condition is that the player has picked up a key. I linked up Have Key to the condition point of the branch, which now means that the door can be opened once a key has been found.


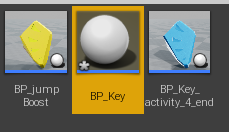
I now had to go and create a key to get a feel for the process of creating an asset and blueprints. I created an Actor and called it BP_Key.


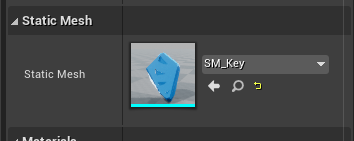


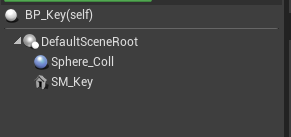


I opened the BP_Key I created in blueprints, and assigned a static mesh to it. In the viewport, I can adjust the position of the mesh in relation to the object centre. I then added an event to the key.


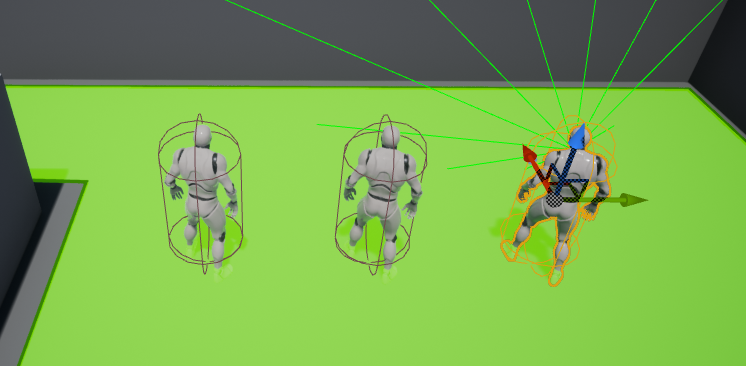
Here is where I started blueprinting. The main point of the code is to check if the player has the key, play a sound once the key it picked up, then get rid of the key in the level, while still ensuring that the player has picked it up and that it will be registered by the game when they try and open the door.

For a quick test, I placed the key in front of the door to ensure that everything was working.
Here is how the key can be used to open the door, and how the door reacts when the player doesn't have the key.


To have the game formally end the level upon completion, I added in a BP_endGoal, which when picked up will end the game and give the player a final score.
Here is the complete level. The end screen shows a timer and also my coin total.
This concludes the first tutorial of Unreal Engine. I learnt a fair bit about navigating the programme, but not so much about blueprints. This is the next thing I hope to focus on when in Unreal, as knowing how to do simple things will hopefully allow me to create simple game mechanics for a this years game project.


Comments