ZBrush - Sculpting a Plant Part 1
- Dec 16, 2021
- 3 min read
The next thing I must do for the VFX project is create a plant asset to put into the scene. I will be using ZBrush in order to model the plant I have previously designed.


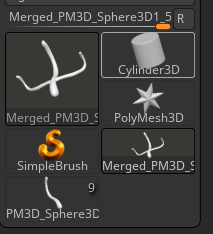
I started by inserting some basic geometry in order to block out the plant. Since the plant I designed is symmetrical, most of the geometry can be mirrored to the other side. I used spheres for the flowerhead and berries/eyes, and a cylinder as a place holder for a plant pot that I'll likely model in Maya instead, since I'm more familiar with that programme.
I started by using the move tool to create some simple versions of the petals.


I then used the clay build-up tool to carve a circle into the sphere to visualise early on where the mouth of the flower will go, since this is something I had in my design.


I then worked on carving in the back of the sphere to be more flower shaped. I used the smoothing tool a lot during this to make sure the geometry remained natural looking.


As I continued flattening it, I also made sure to pull in the petals to make them longer and less star-like.


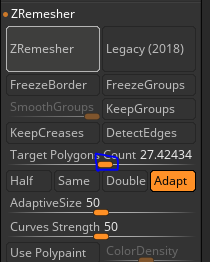
I then went into the Geometry menu and selected the ZRemesher, wihich remeshed the topology according to how I'd reshaped it. This made cutting down the rest of the back far easier, as it no longer had uneven topology.
I used a website to look into different ways of remeshing in ZBrush, which is linked below for future reference:

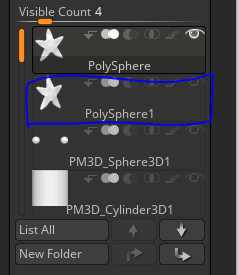


I then duplicated the flowerhead, sized it down, and positioned it behind the original. This will become the flower bud.


I inflated the flower bud, which will meet up with the stem in future. I also thinned out the leaves as much as possible.


I then turned my attention back to the flowerhead, and gave it more detail. I added creases around the mouth to match up with the petals more closely, and then added some texture to the petals.


I then went back to the flower bud, and thinned down the leaves even more and pinched them inwards to sit nicely in between the petals.


I then adjusted the flower bud's position to fit better with the flowerhead.


I then duplicated the flower bud. I sized it down and moved it to where I'd placed the proxy geometry for the berries/eyes of the creature. I then added in and scaled down a sphere to be the eye sitting inside the bud.


With this in place, I moved onto creating the main stem. I used a sphere and then used the move tool to drag it into a vague S-curve.


I then used the ZRemesher once again to fix up the topology issue so that I could shape it.


I slimmed it down and then used the smooth tool in order to make it more stem like.


I then went through the same process with the connecting stem, which was harder for me to shape due to the angle it was at.


Here is both of the stem pieces together. I also quickly planned out my next moves, which were to mirror the connecting stem, and to add more detail to the flowerhead and bud, such as spikes to the leaves, and 'teeth' in the mouth.


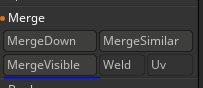
Before I mirrored the connecting stem, I used the move tool to adjust the curve to make it look more natural. I then merged the three stem pieces together.


This was merged as a subtool, which I will be able to merge properly the next time I work on this project. My other tasks for next session will be to add thorns to the plant, which will be time consuming.


Comments