ZBrush Workshop
- Nov 17, 2021
- 4 min read
Today I had a quick play around with ZBrush, following a tutorial on how to create a face. I followed a tutorial by Wekster's Geeky Stuff, which went into how to create a face in ZBrush.

I started by creating a simple sphere to work with, and this will act as a base shape for anything I make.


Before I got into sculpting, I first had a bit of fun using a Wacom and using some basic and simple tools. I used the standard brush to get used to drawing with a Wacom in ZBrush, and since the mesh is currently mirrored (by default) what I was doing on one side was reflected on the other. To turn mirroring off, I pressed X.
By holding down Alt and drawing, the brush stroke is reversed, and in this case can now dig into the sphere instead of build it up. I can then smooth out anything I draw by holding down Shift.


Another thing I can do is create a mask to work with. To do this, I hold down Ctrl and draw. The area will go darker, and will now be uneditable. To reverse the selection of the mask, I pressed Ctrl again and clicked away from the mask. From there, I can now edit the area that I drew over.


From there, I can inflate the selection and then smooth it.


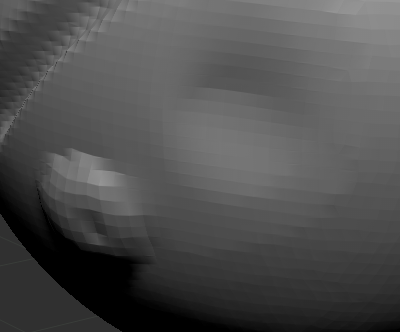
Now I moved onto the tutorial. Since I'm creating a face in this workshop, I started by creating a jawline and rough sphae using the move tool.


I then used the clay build-up tool to start creating a basic face shape. I started with turning symmetry on and digging into the mesh to create eyesockets, before creating a nose, mouth and cheekbones. I experimented with the smooth smooth a lot, and used different amounts of it in different sections.


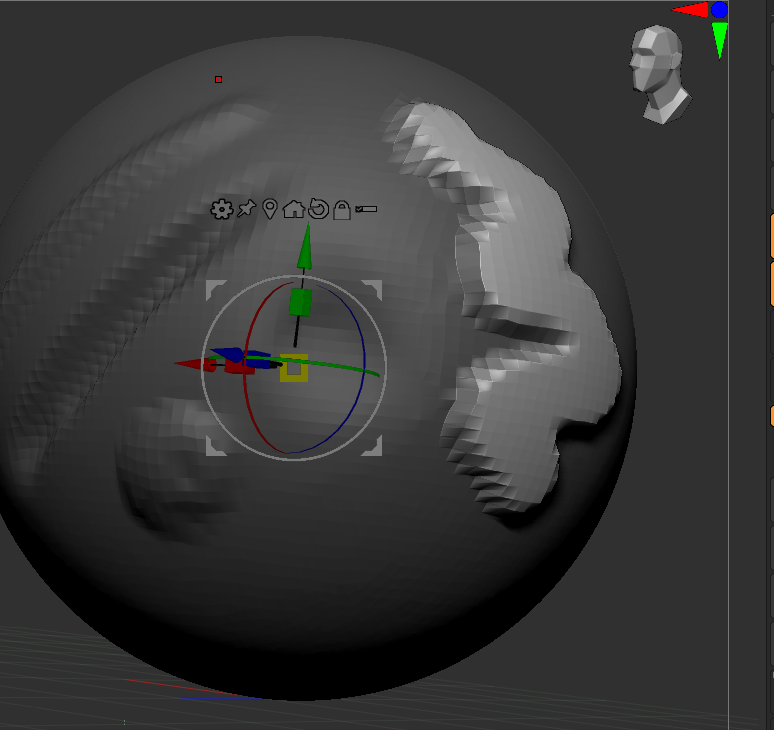
With a basic face created, I added some eyes to the sockets. I did this by going into the Subtool menu and adding in a new sphere. I then resized the sphere and moved it into the right eye socket. To make sure the eyes are evenly spaced, I mirrored it by going into the Plugin menu, then into Subtool Master, and then Mirror. From there, I was given an option of the axis I wanted it reflected on, which is set to X by default. I clicked okay, which now gives my face two eyes.


Since the sphere started with a limited amount of pixels, I went into the geometry option and clicked Divide, which gave me more to work with, and meant I could add in more detail.


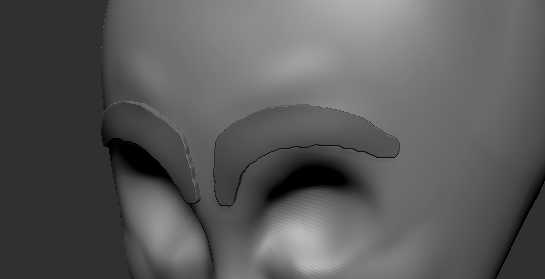
Another thing my face was missing were eyebrows, so I added those next. To do tthis, I selected a small brush size and then masked out the areas which I wanted for the eyebrows. These can be extracted as their own mesh, by pressing Extract in the Subtool menu. This will also emboss the eyebrows.


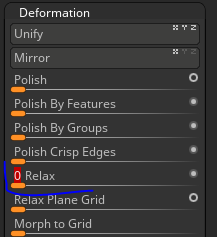

Since there is a harsh outline to the eyebrows right now, the next thing to do is find a way to smooth them out nicely. I started by trying out the Relax option in Deformation, which did give a nice, smoothed effect. However, this still looked blocky.
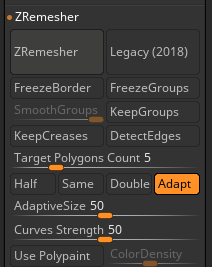
I also went into the Geometry menu, and went down to ZRemesher. I lowered the polygon count down, which made the eyebrows a lot smoother.


I went throgh several iterations of this before I was happy, and spent a bit of time smoothing out the eyebrows.
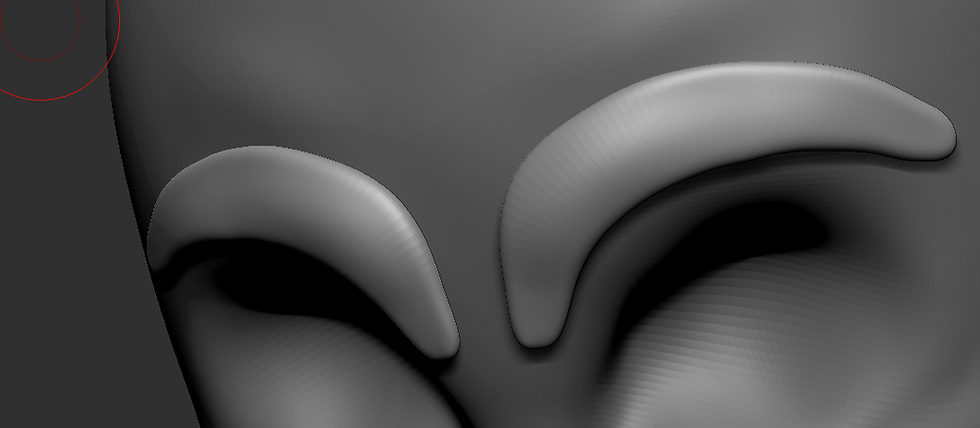
Here is what I settled on, as I felt it was smooth enough to match the rest of the mesh.


From there, I started adding more details, such as wrinkles and creases to face, as well as eyelids. These deatils make the face more realistic, and were a lot of fun for me to do.

Here is how the face looks currently. I decided to follow along with the tutorial a bit more closely and try to create an open mouth.


I used the mask tool to push the section of the mouth inwards, and then built up some lips around it with the pinch tool. It makes the face a little more expressive, since the eyes are a little wide.


As a final adition, I added in two spheres to act as ears. I didn't have time to attempt to sculpt the ears properly, so I simply left the spheres as they were.
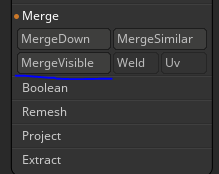


The final thing for me to do was to merge everything together and export it out. I then went into the Subtool menu and selected Merge Visible, which will merge all the visible assets into one mesh.

To make sure it was connected properly, I edited the Dynamesh. Then, I went round and smoothed out some of the connections, which also will help eliminate any unecessary geometry.


Here is what the wireframe currently looks like. It's now time to bake down my mesh into an .obj file. To do this, I frist went into the ZPlugin dropdown menu, went into Decimation Master, and selected Preprocess Current. This will bring the topology of the mesh down.
I did this a few more times until I got it down to a more reasonable topology, and then exported it as an Object.
This workshop has been incredibly helpful, and has helped me feel more comfortable with using ZBrush. Some of these skills will be transferable to when I create my plant for the VFX shot, although there will still be a steep learning curve. I will need to look more at textures on leaves and petals in order to be able to produce something realistic and convincing.


Comments